To fit a timber slat panel into a small recess, check the opening with a tape measure, plan where the slats will meet each edge, then cut and dry-fit the panel before fixing it. Our kitchen project needed a piece measuring 320 mm wide by 710 mm high. Planning the position of the black felt backing let me avoid cutting a timber slat lengthways.
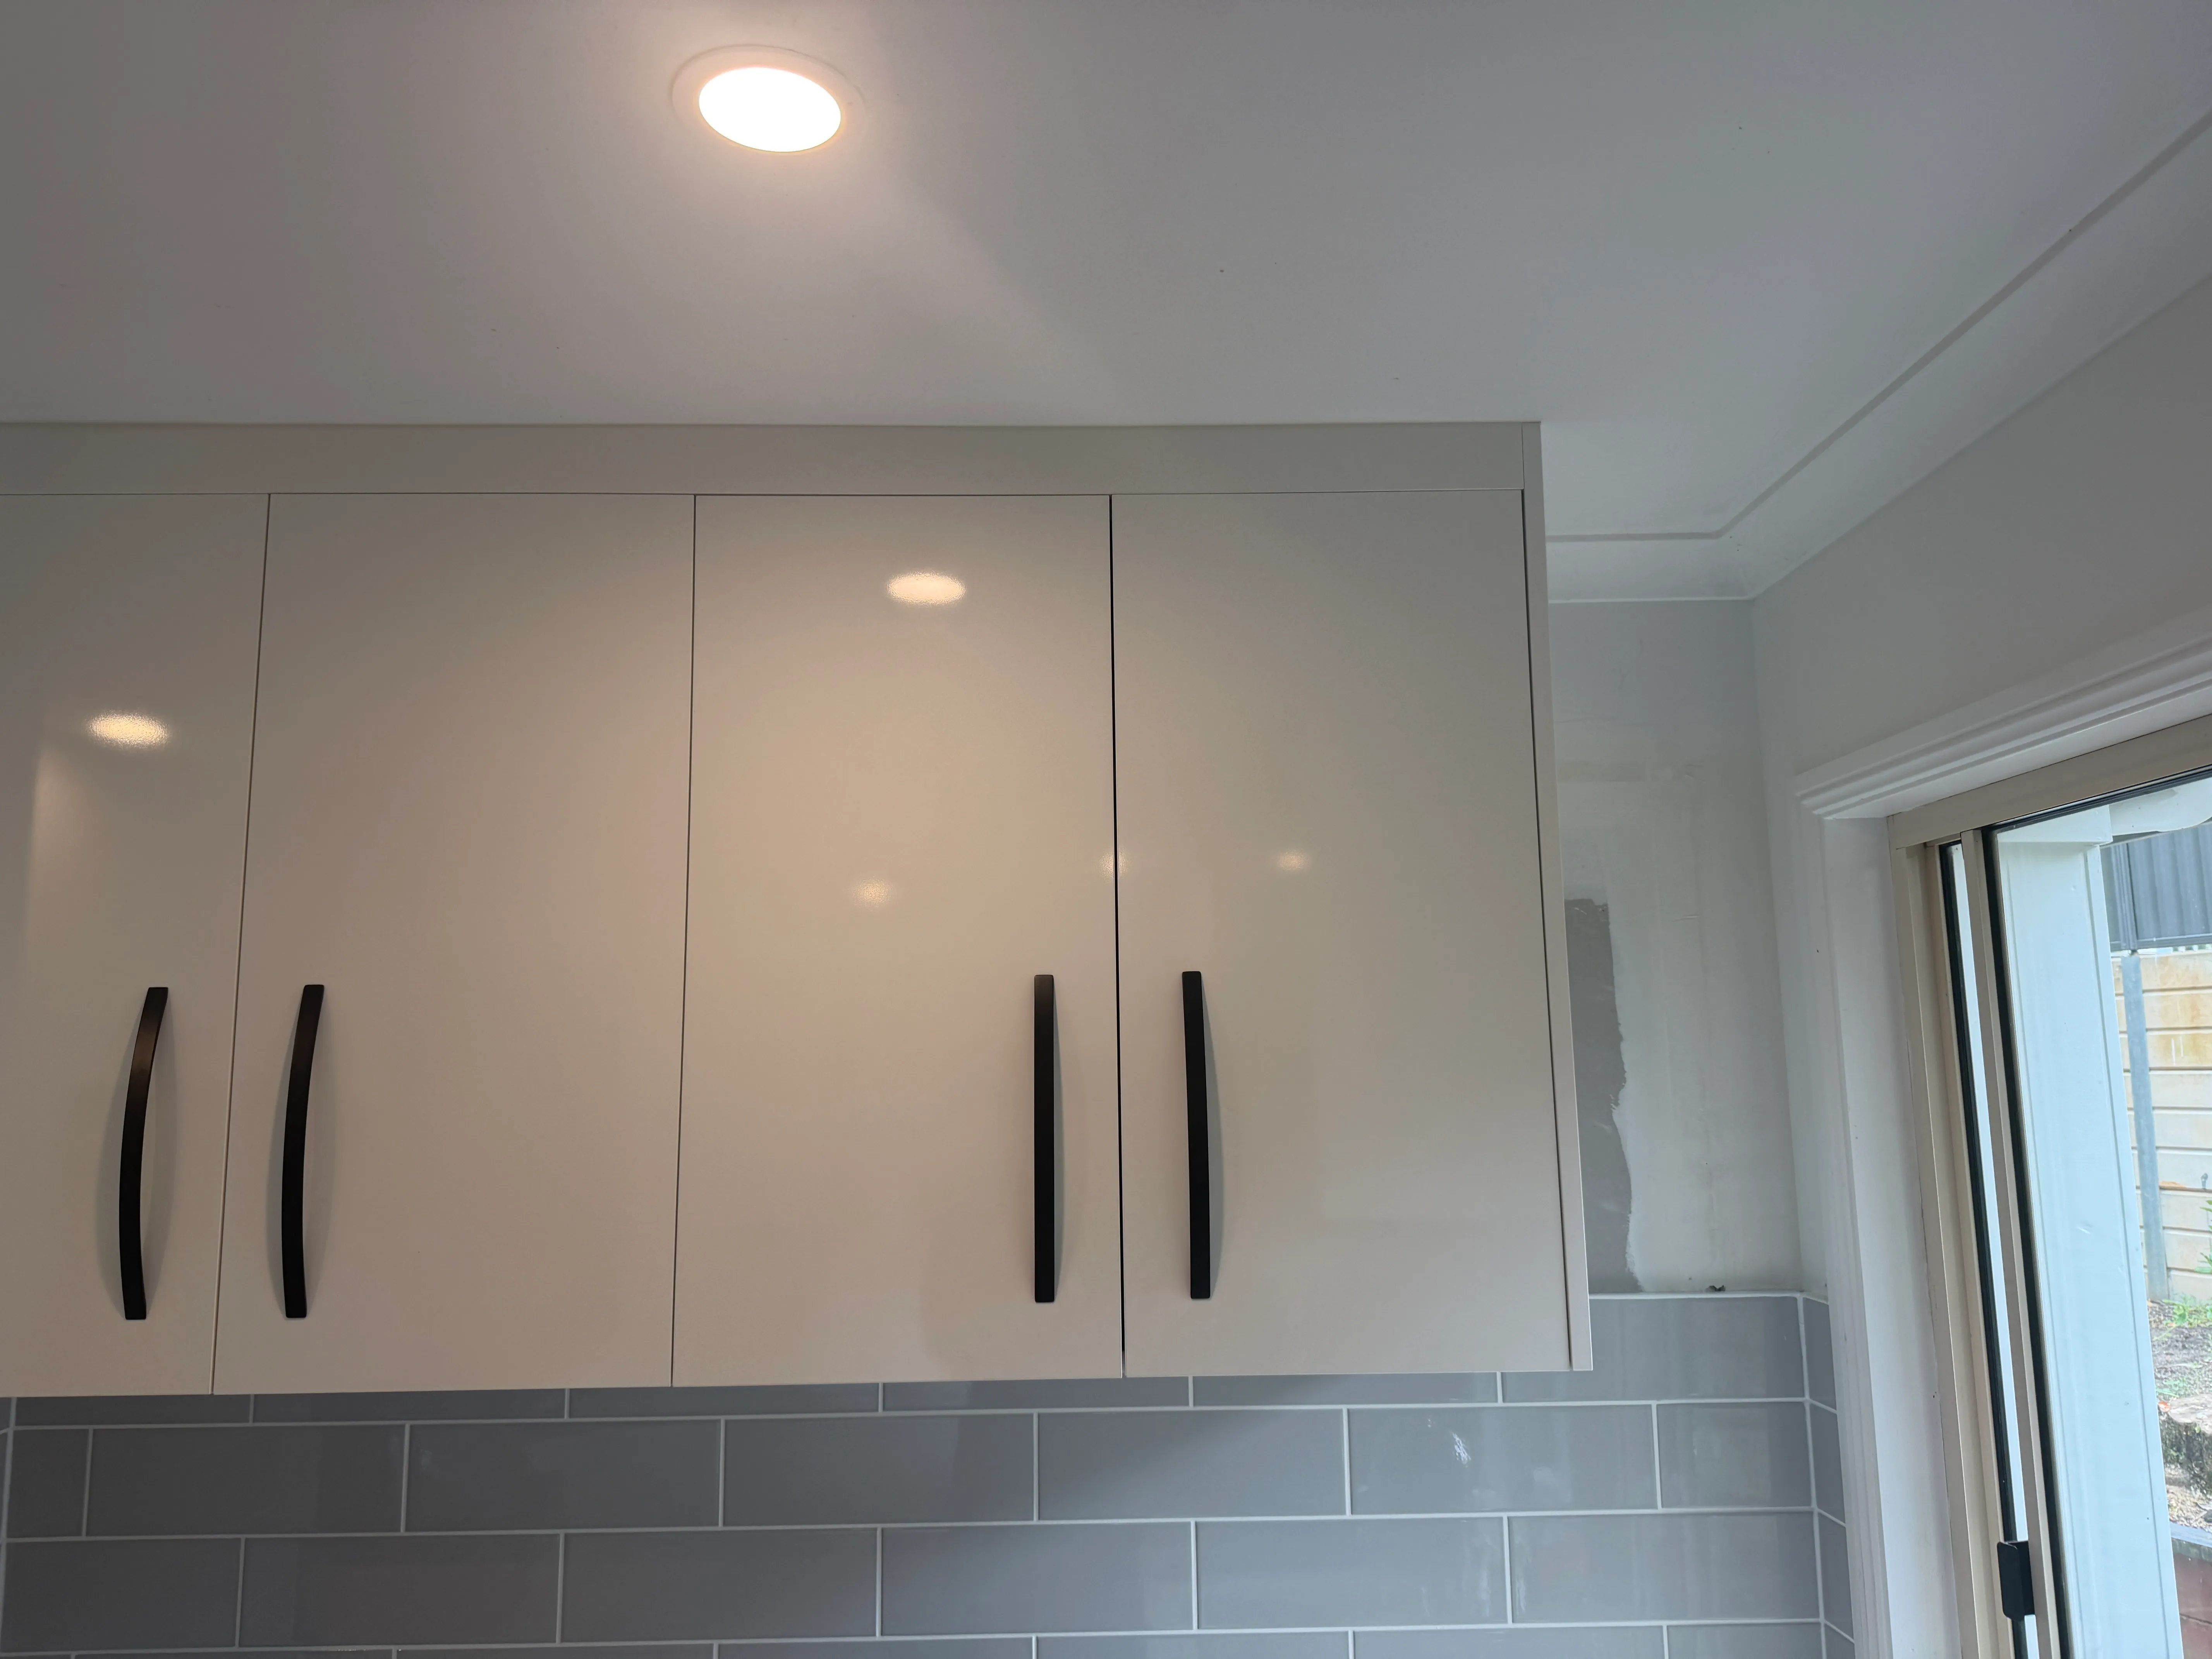
After renovating the kitchen, we had a narrow patch of wall between the cupboards and the window that we weren’t sure what to do with. We asked ChatGPT for a few ideas and decided on a timber acoustic panel.
Choosing the panel
We bought a SpecRite Saman solid timber slat panel from Bunnings, an Australian hardware retailer. The full panel measures 2700 × 600 × 21 mm, with timber slats attached to black acoustic felt.
Bunnings lists the SpecRite Saman batten acoustic panel at AUD 129 per panel, checked on 29 September 2026. That’s the listed panel price, excluding adhesive, tools and delivery. Check the current price and local stock before buying.
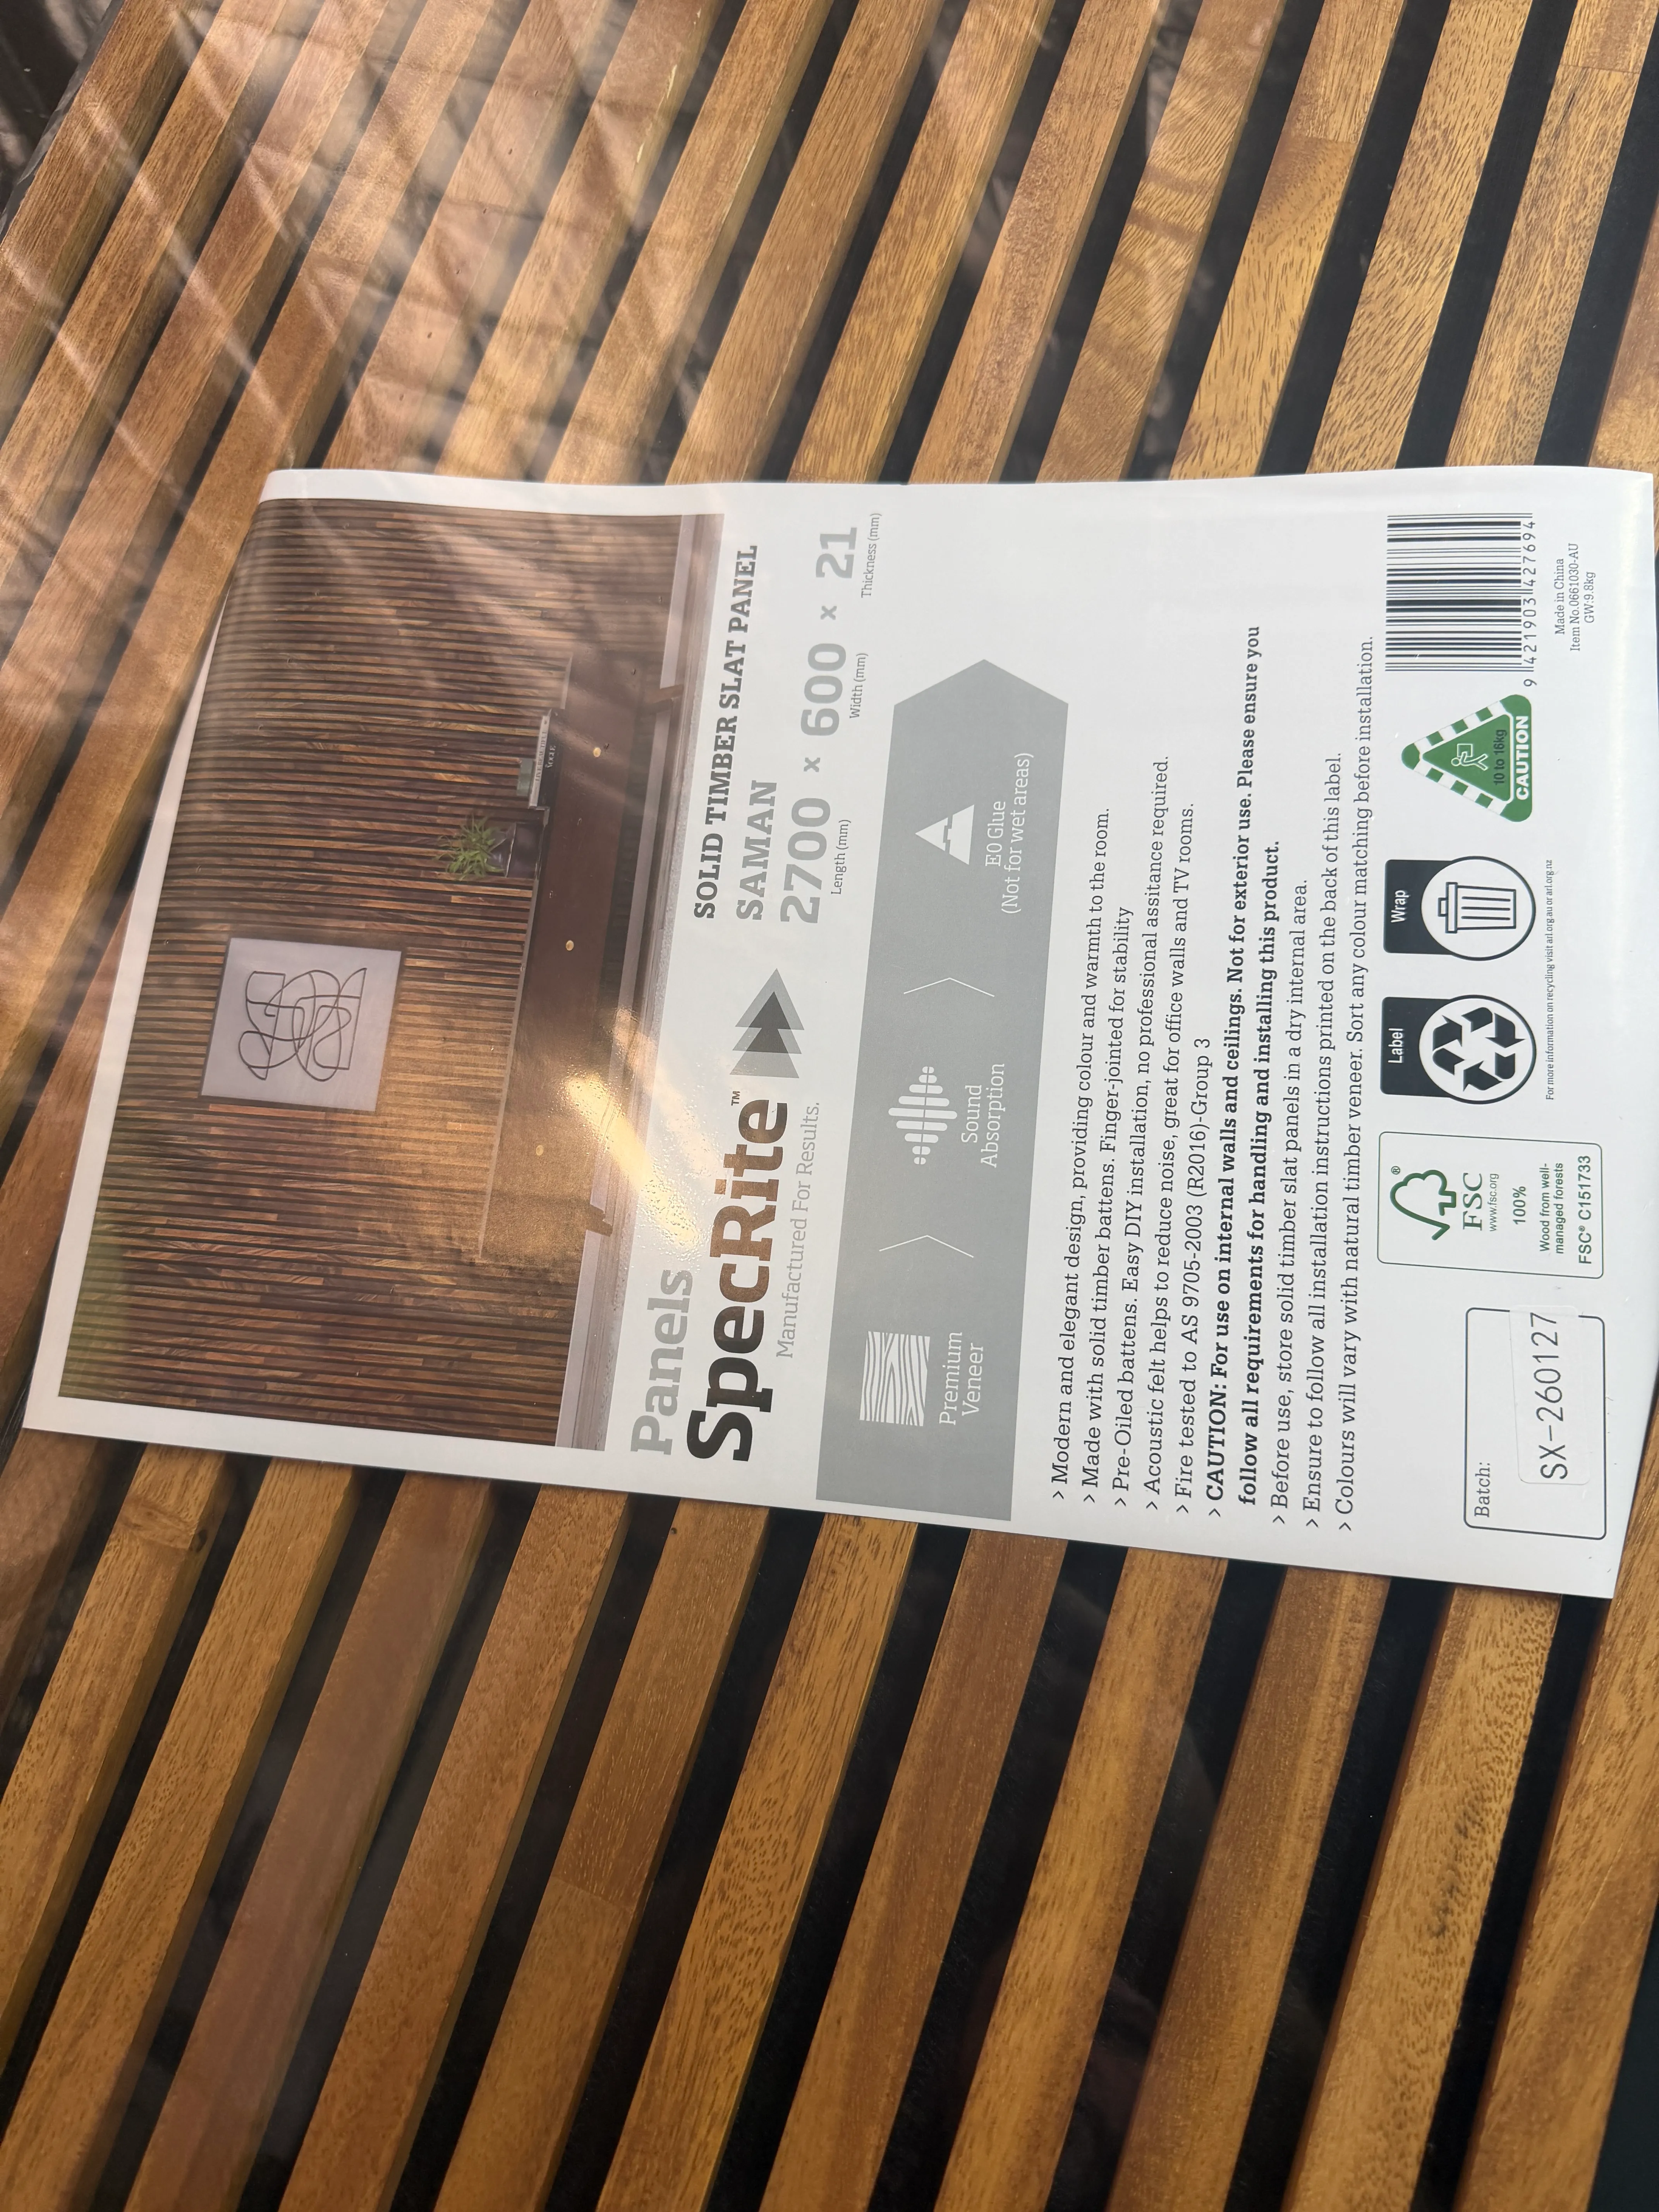
For a kitchen installation, check the location as well as the dimensions. The supplier’s solid timber panel installation guide excludes places exposed to moisture or flames. This type of decorative panel isn’t a substitute for a suitable splashback around a sink or cooktop.
Apple Measure app vs a tape measure
I like using Apple’s Measure app to get a rough idea of the size of something. For this project, it helped me work out what size panel to look for. Once I was ready to cut, I checked the opening with a tape measure.
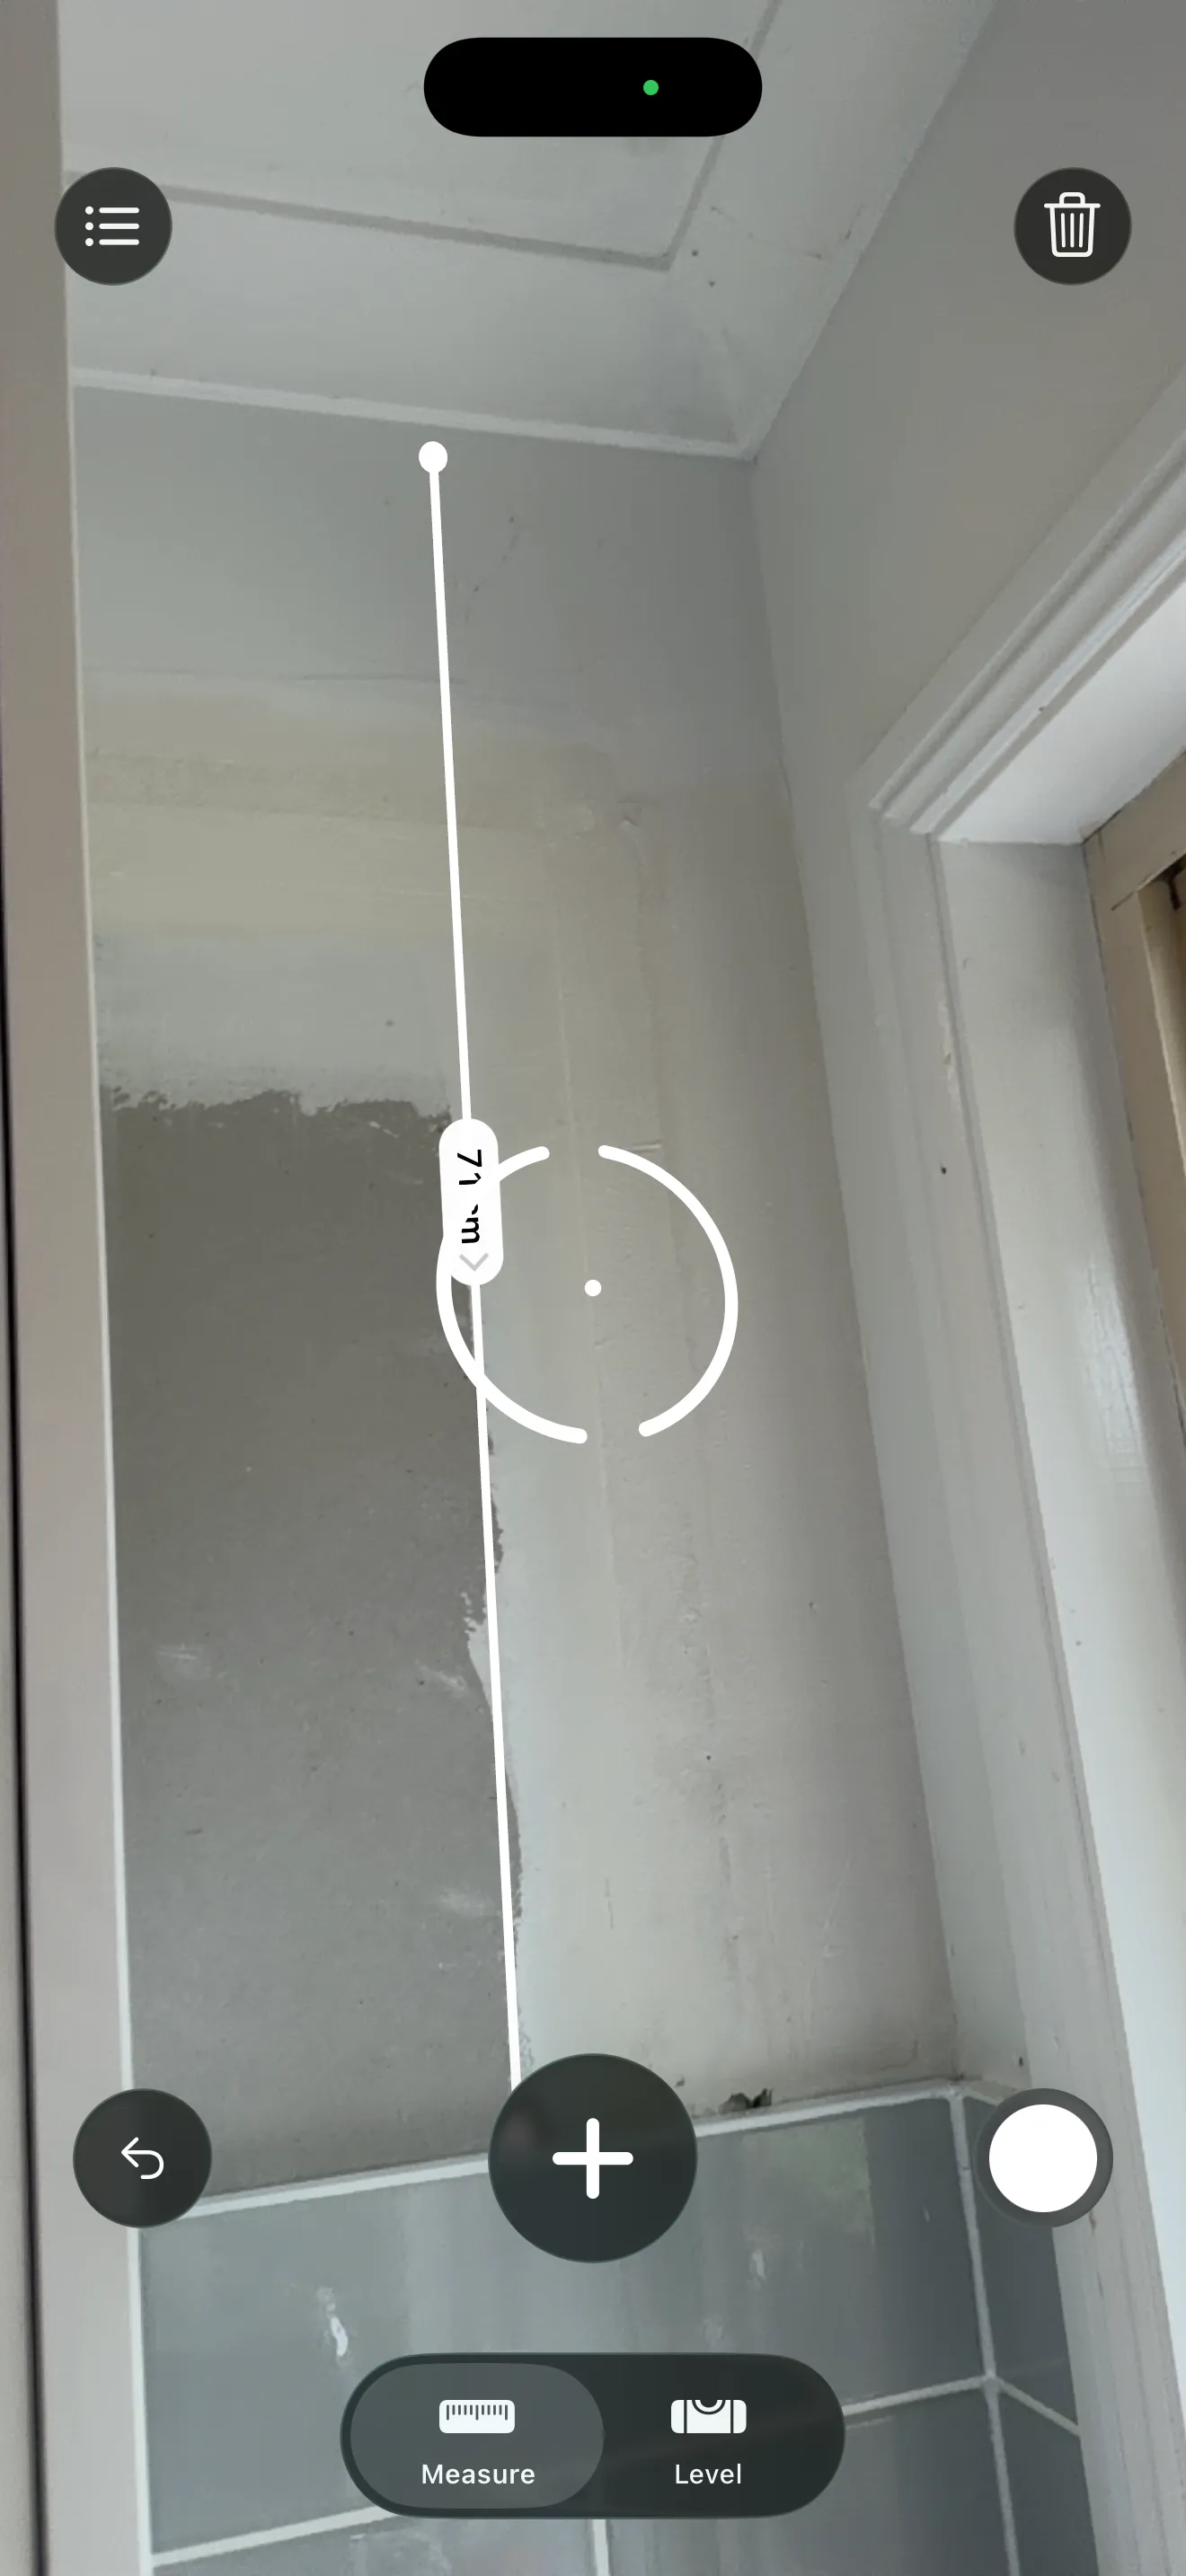
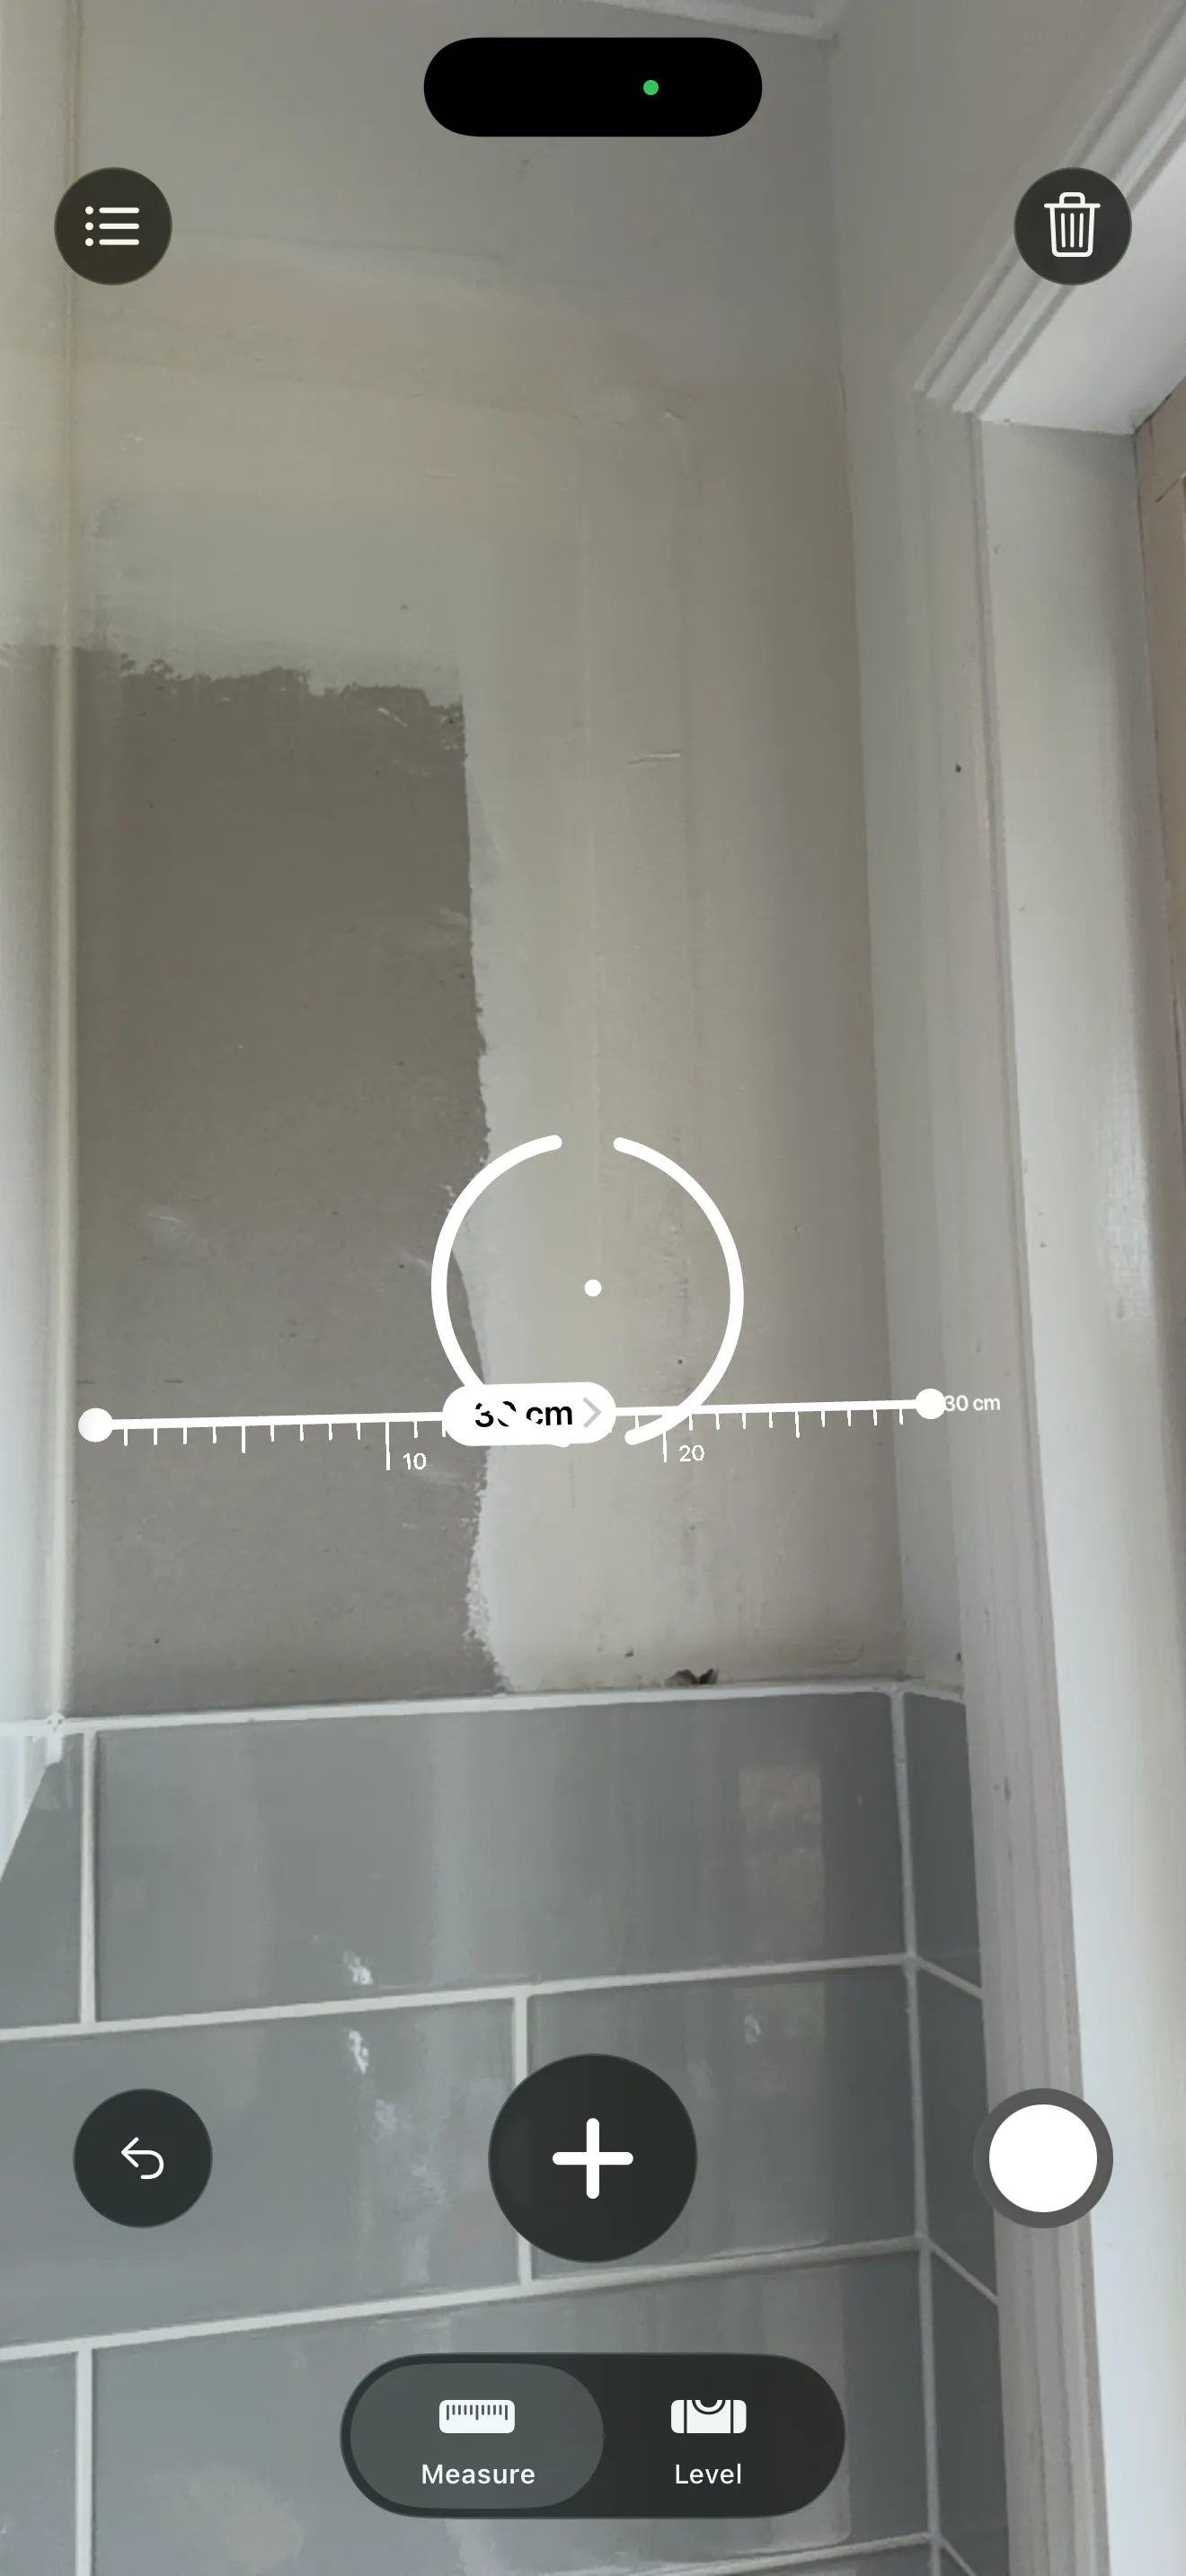
Apple describes the app’s measurements as approximate and recommends measuring objects with clearly defined edges. See Apple’s Measure instructions. The points you select on screen matter, especially in a narrow corner where the cupboard edge and the wall sit at different depths.
In my checks, I found a difference of about 10 mm between the app and the tape measure. That’s my experience on this job, rather than an accuracy rating for the app. It was useful for initial planning, but I wouldn’t use it to mark a cut.
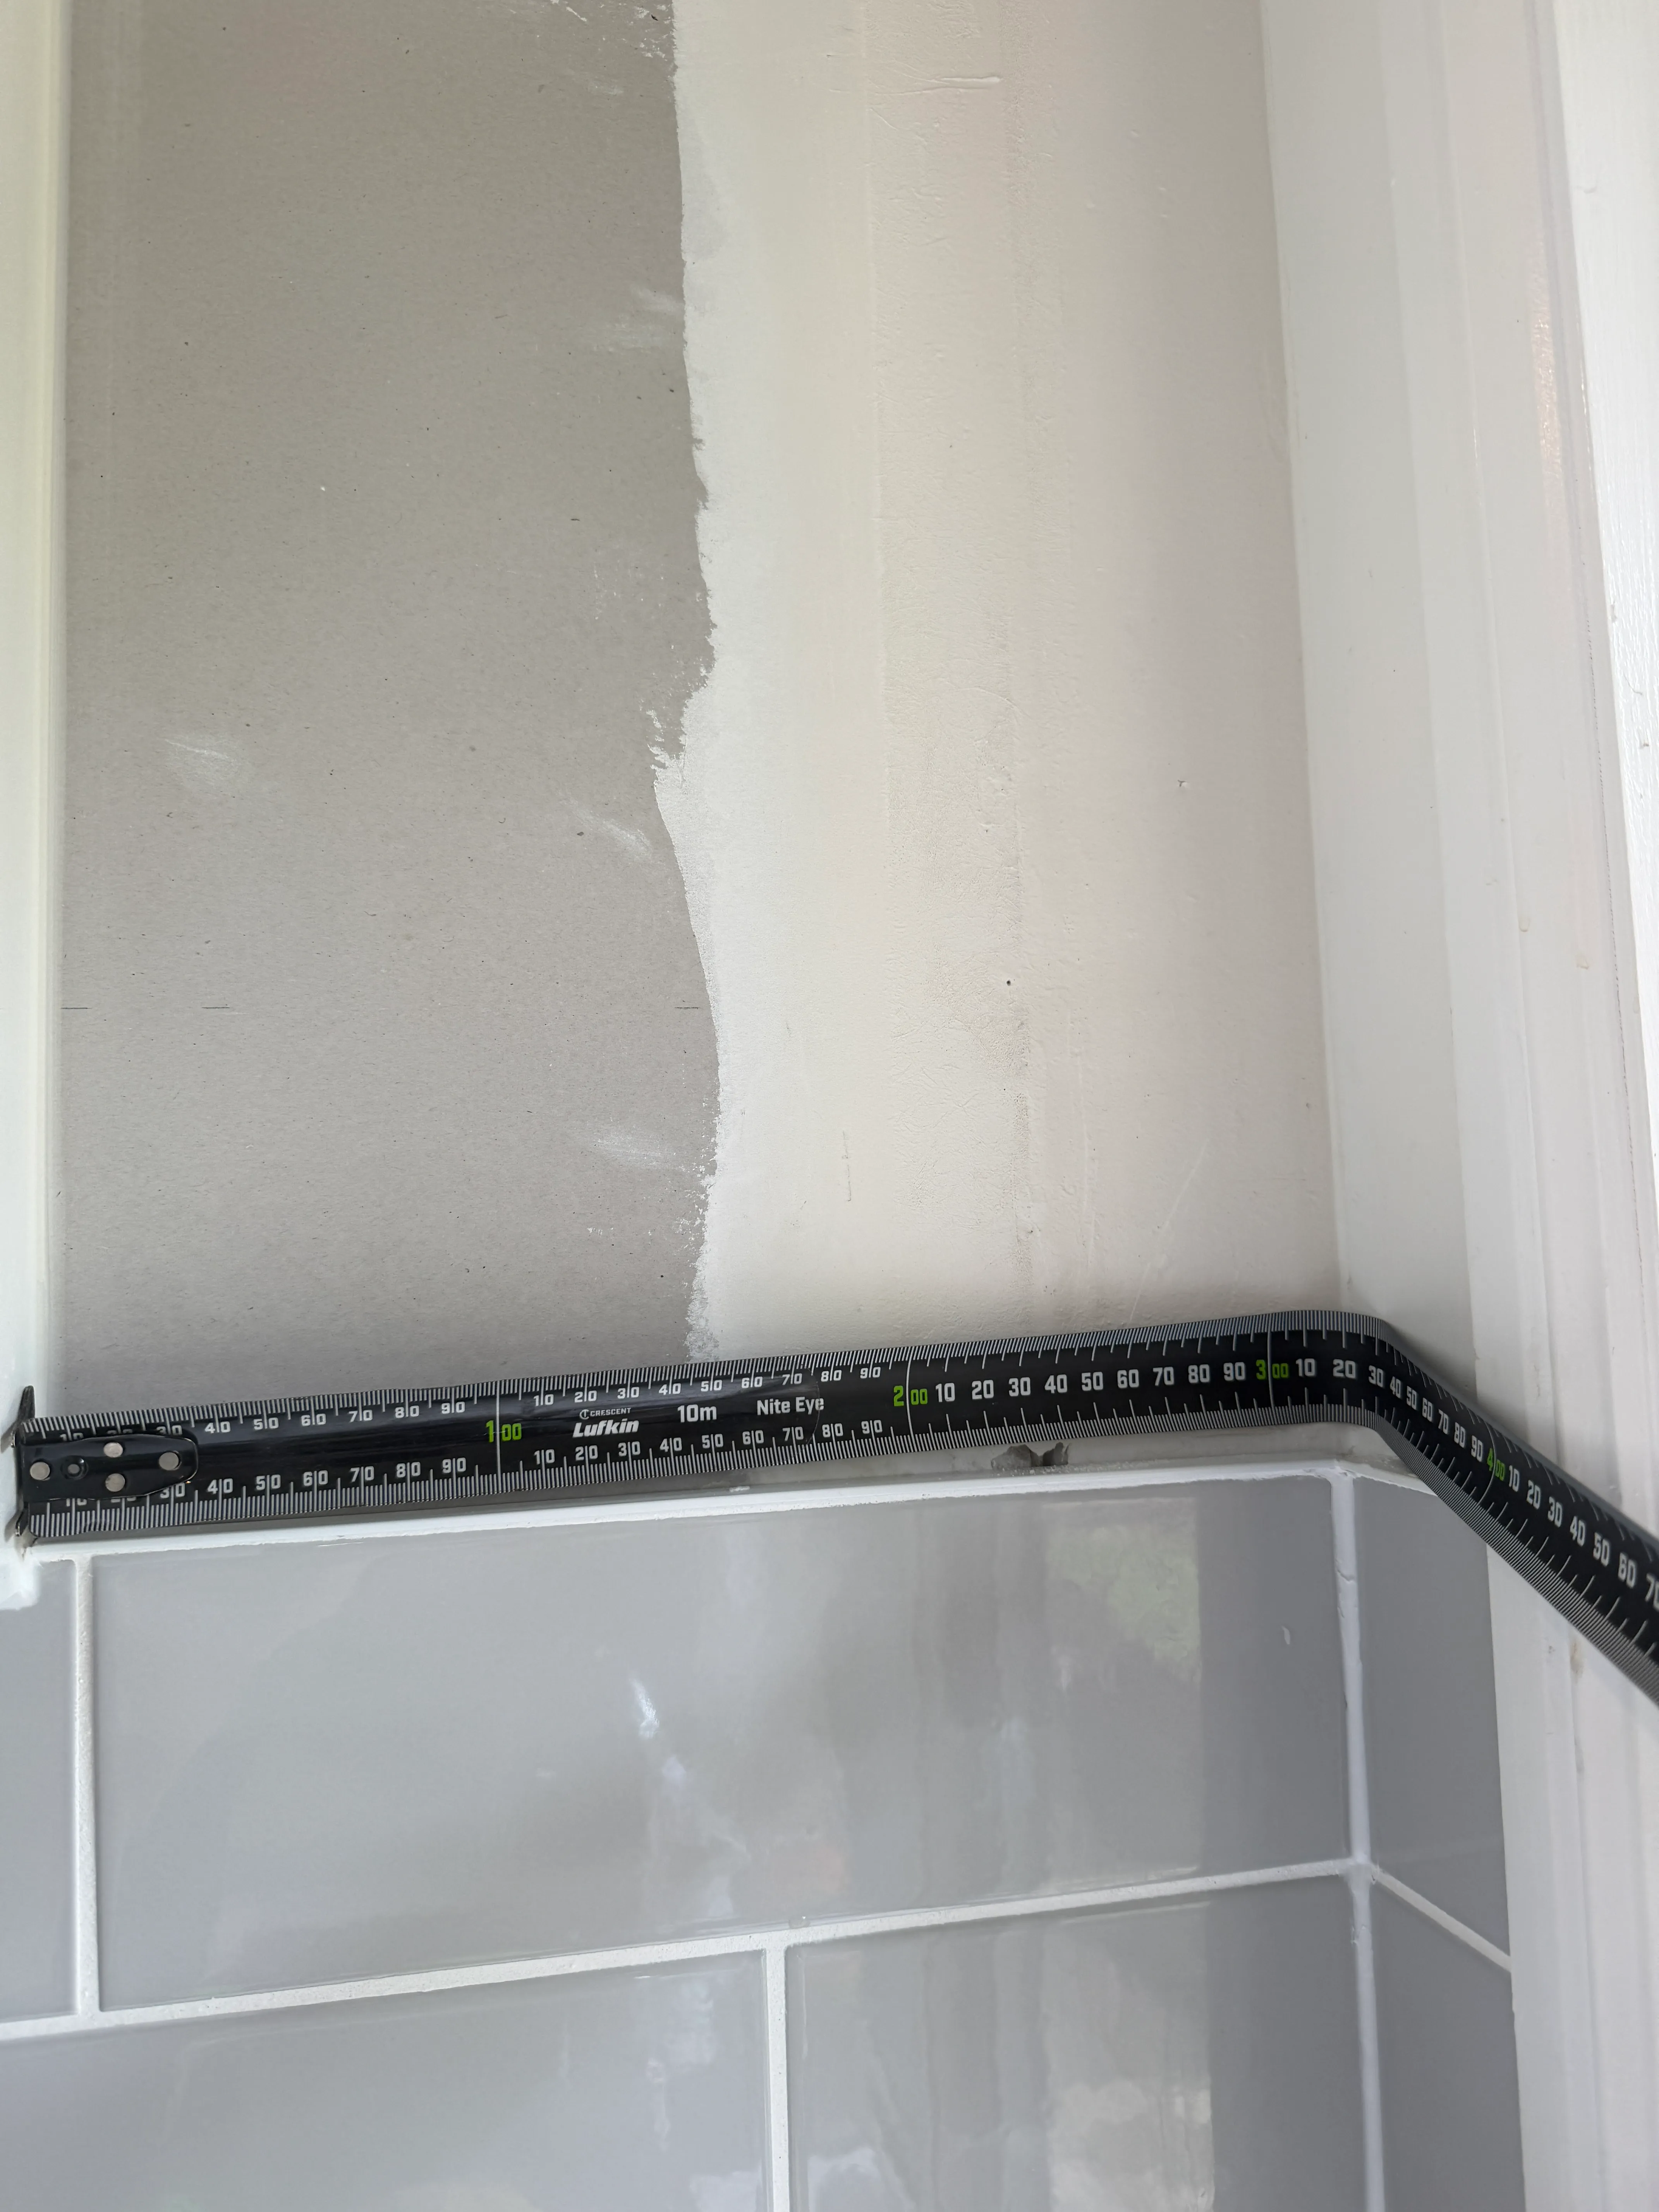
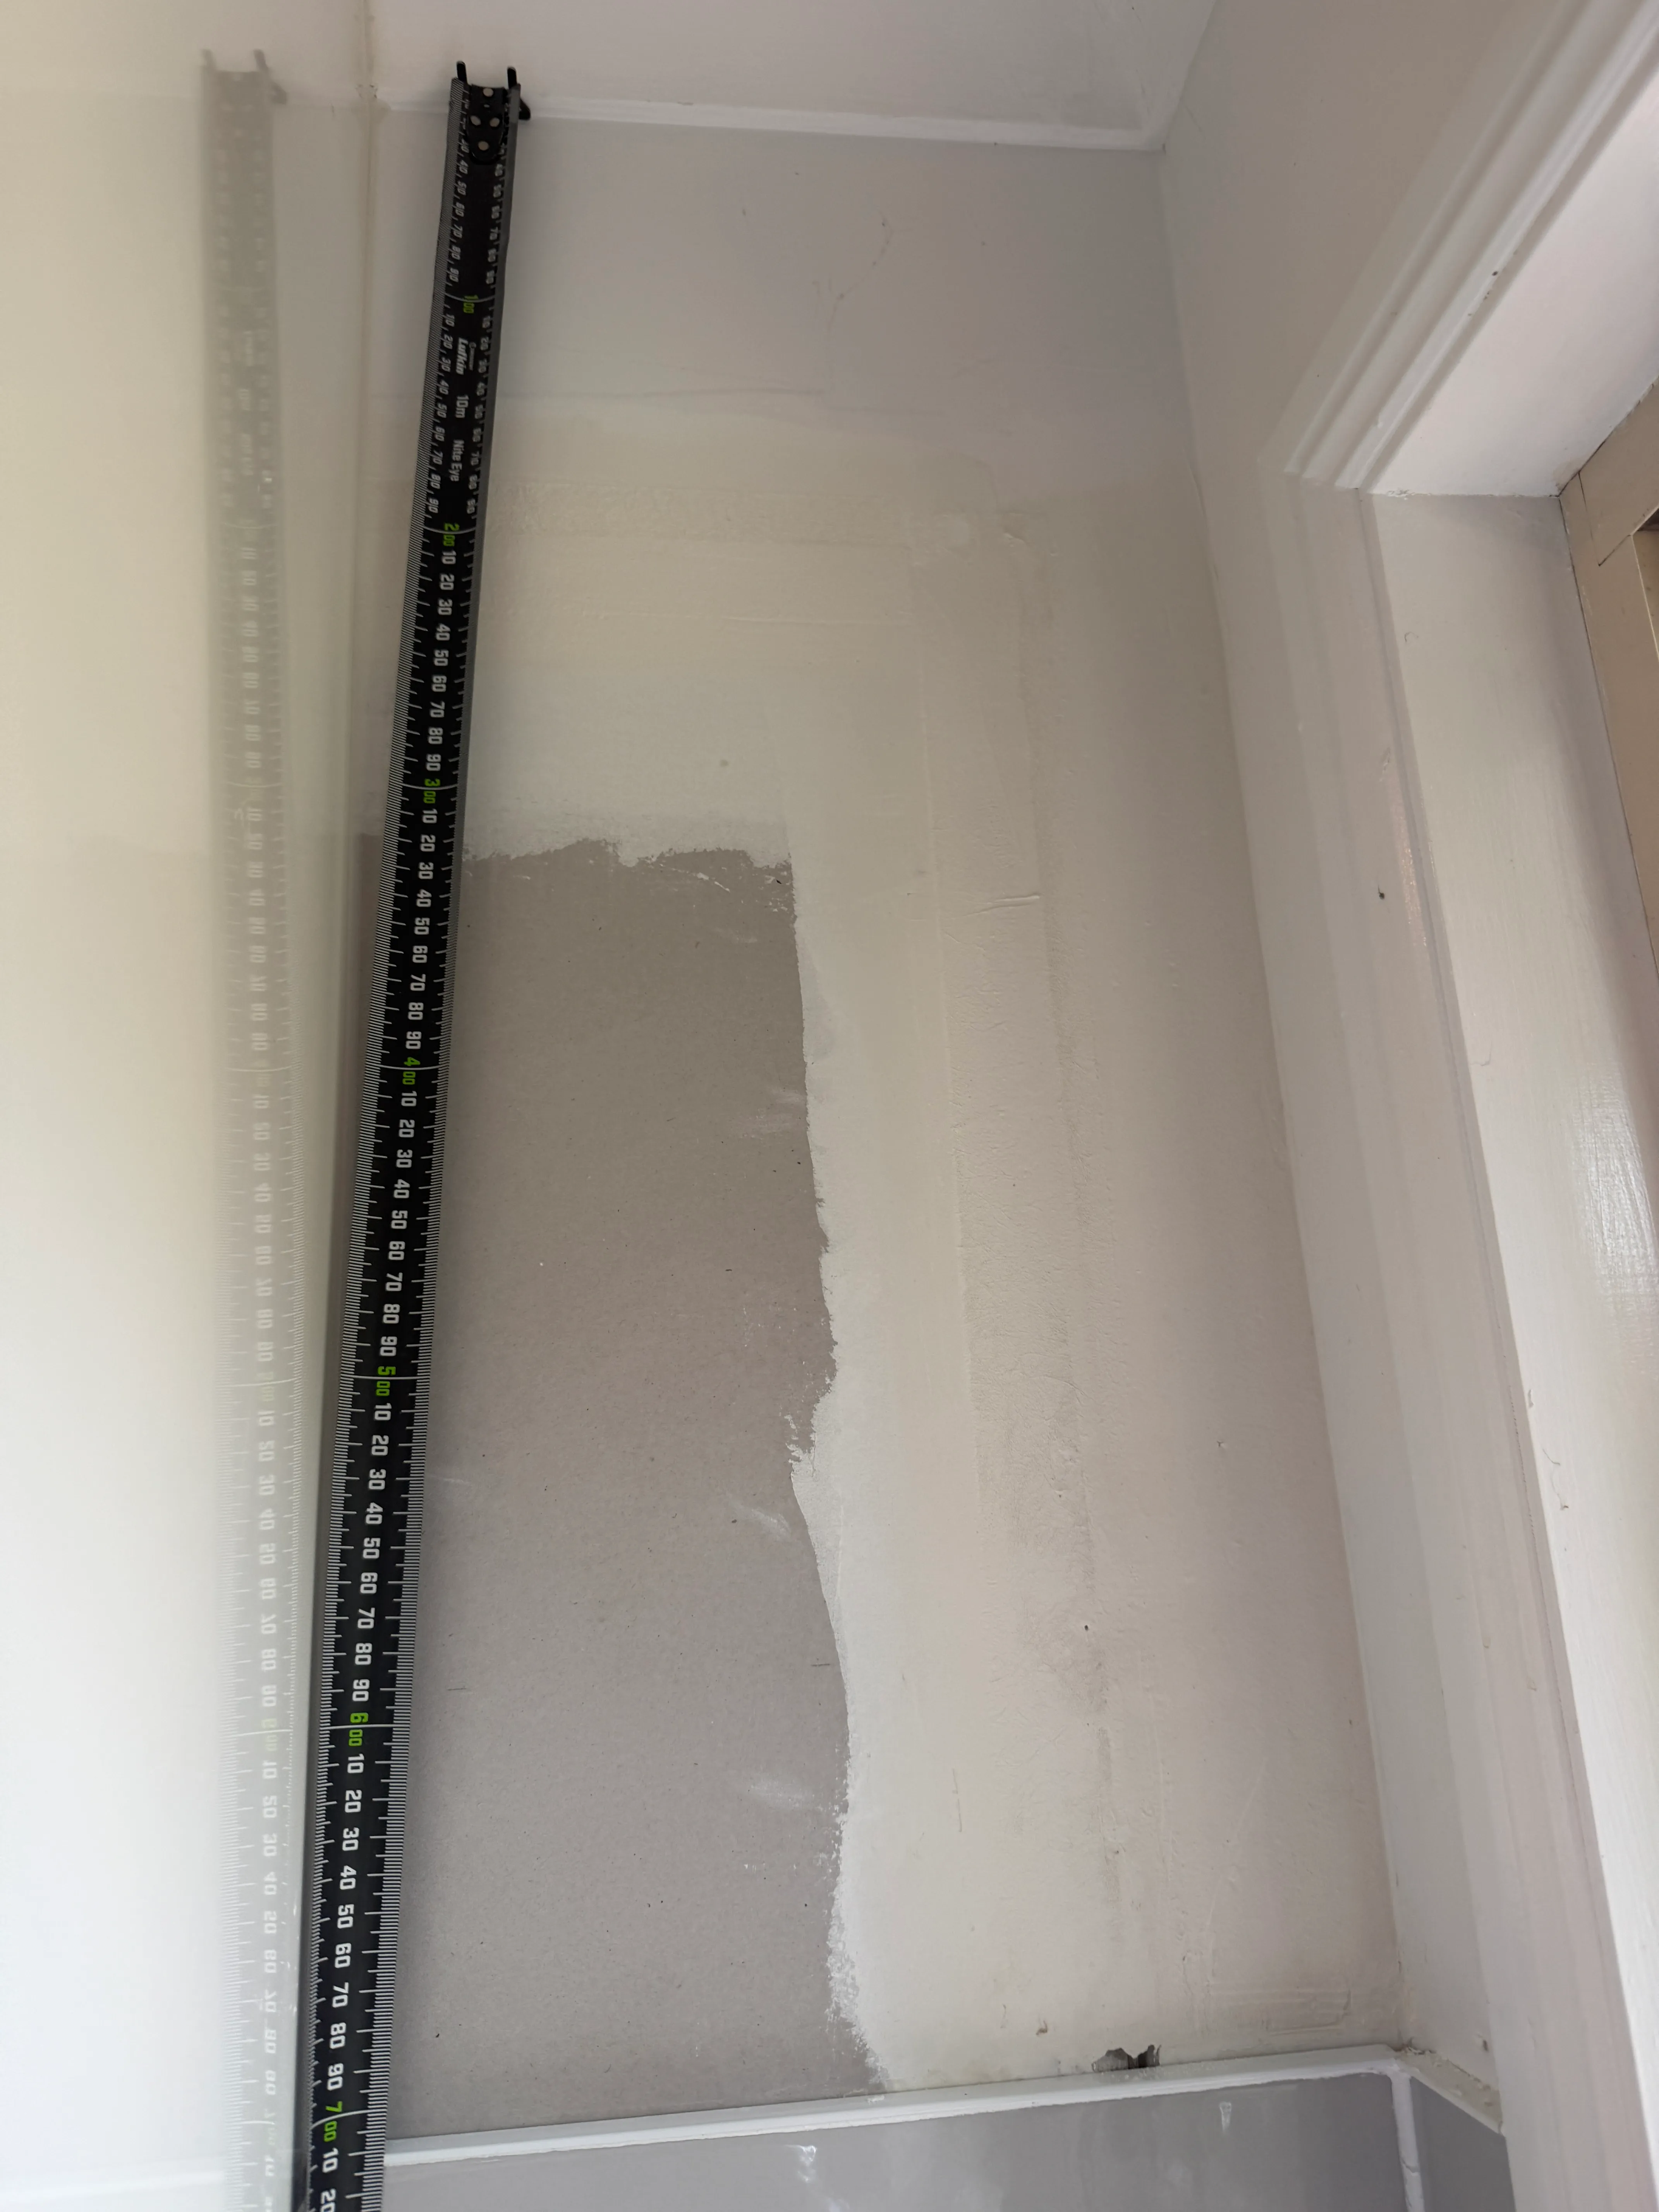
Measure the width at the top and bottom, and the height on both sides. If they differ, sketch those differences before deciding on the cut size. For an inside measurement, avoid reading around a bend in the tape; use two straight measurements to a shared mark if you can’t get a clear reading at the corner. Check any fitting or movement gaps required by your panel’s instructions.
Planning the size and slat positions
My cutting plan was 320 × 710 mm. In metres, that’s 0.320 × 0.710, giving an area of 0.2272 m² before any allowance. The area calculator can check that rectangle, but area alone won’t tell you where to cut a repeating slat pattern.
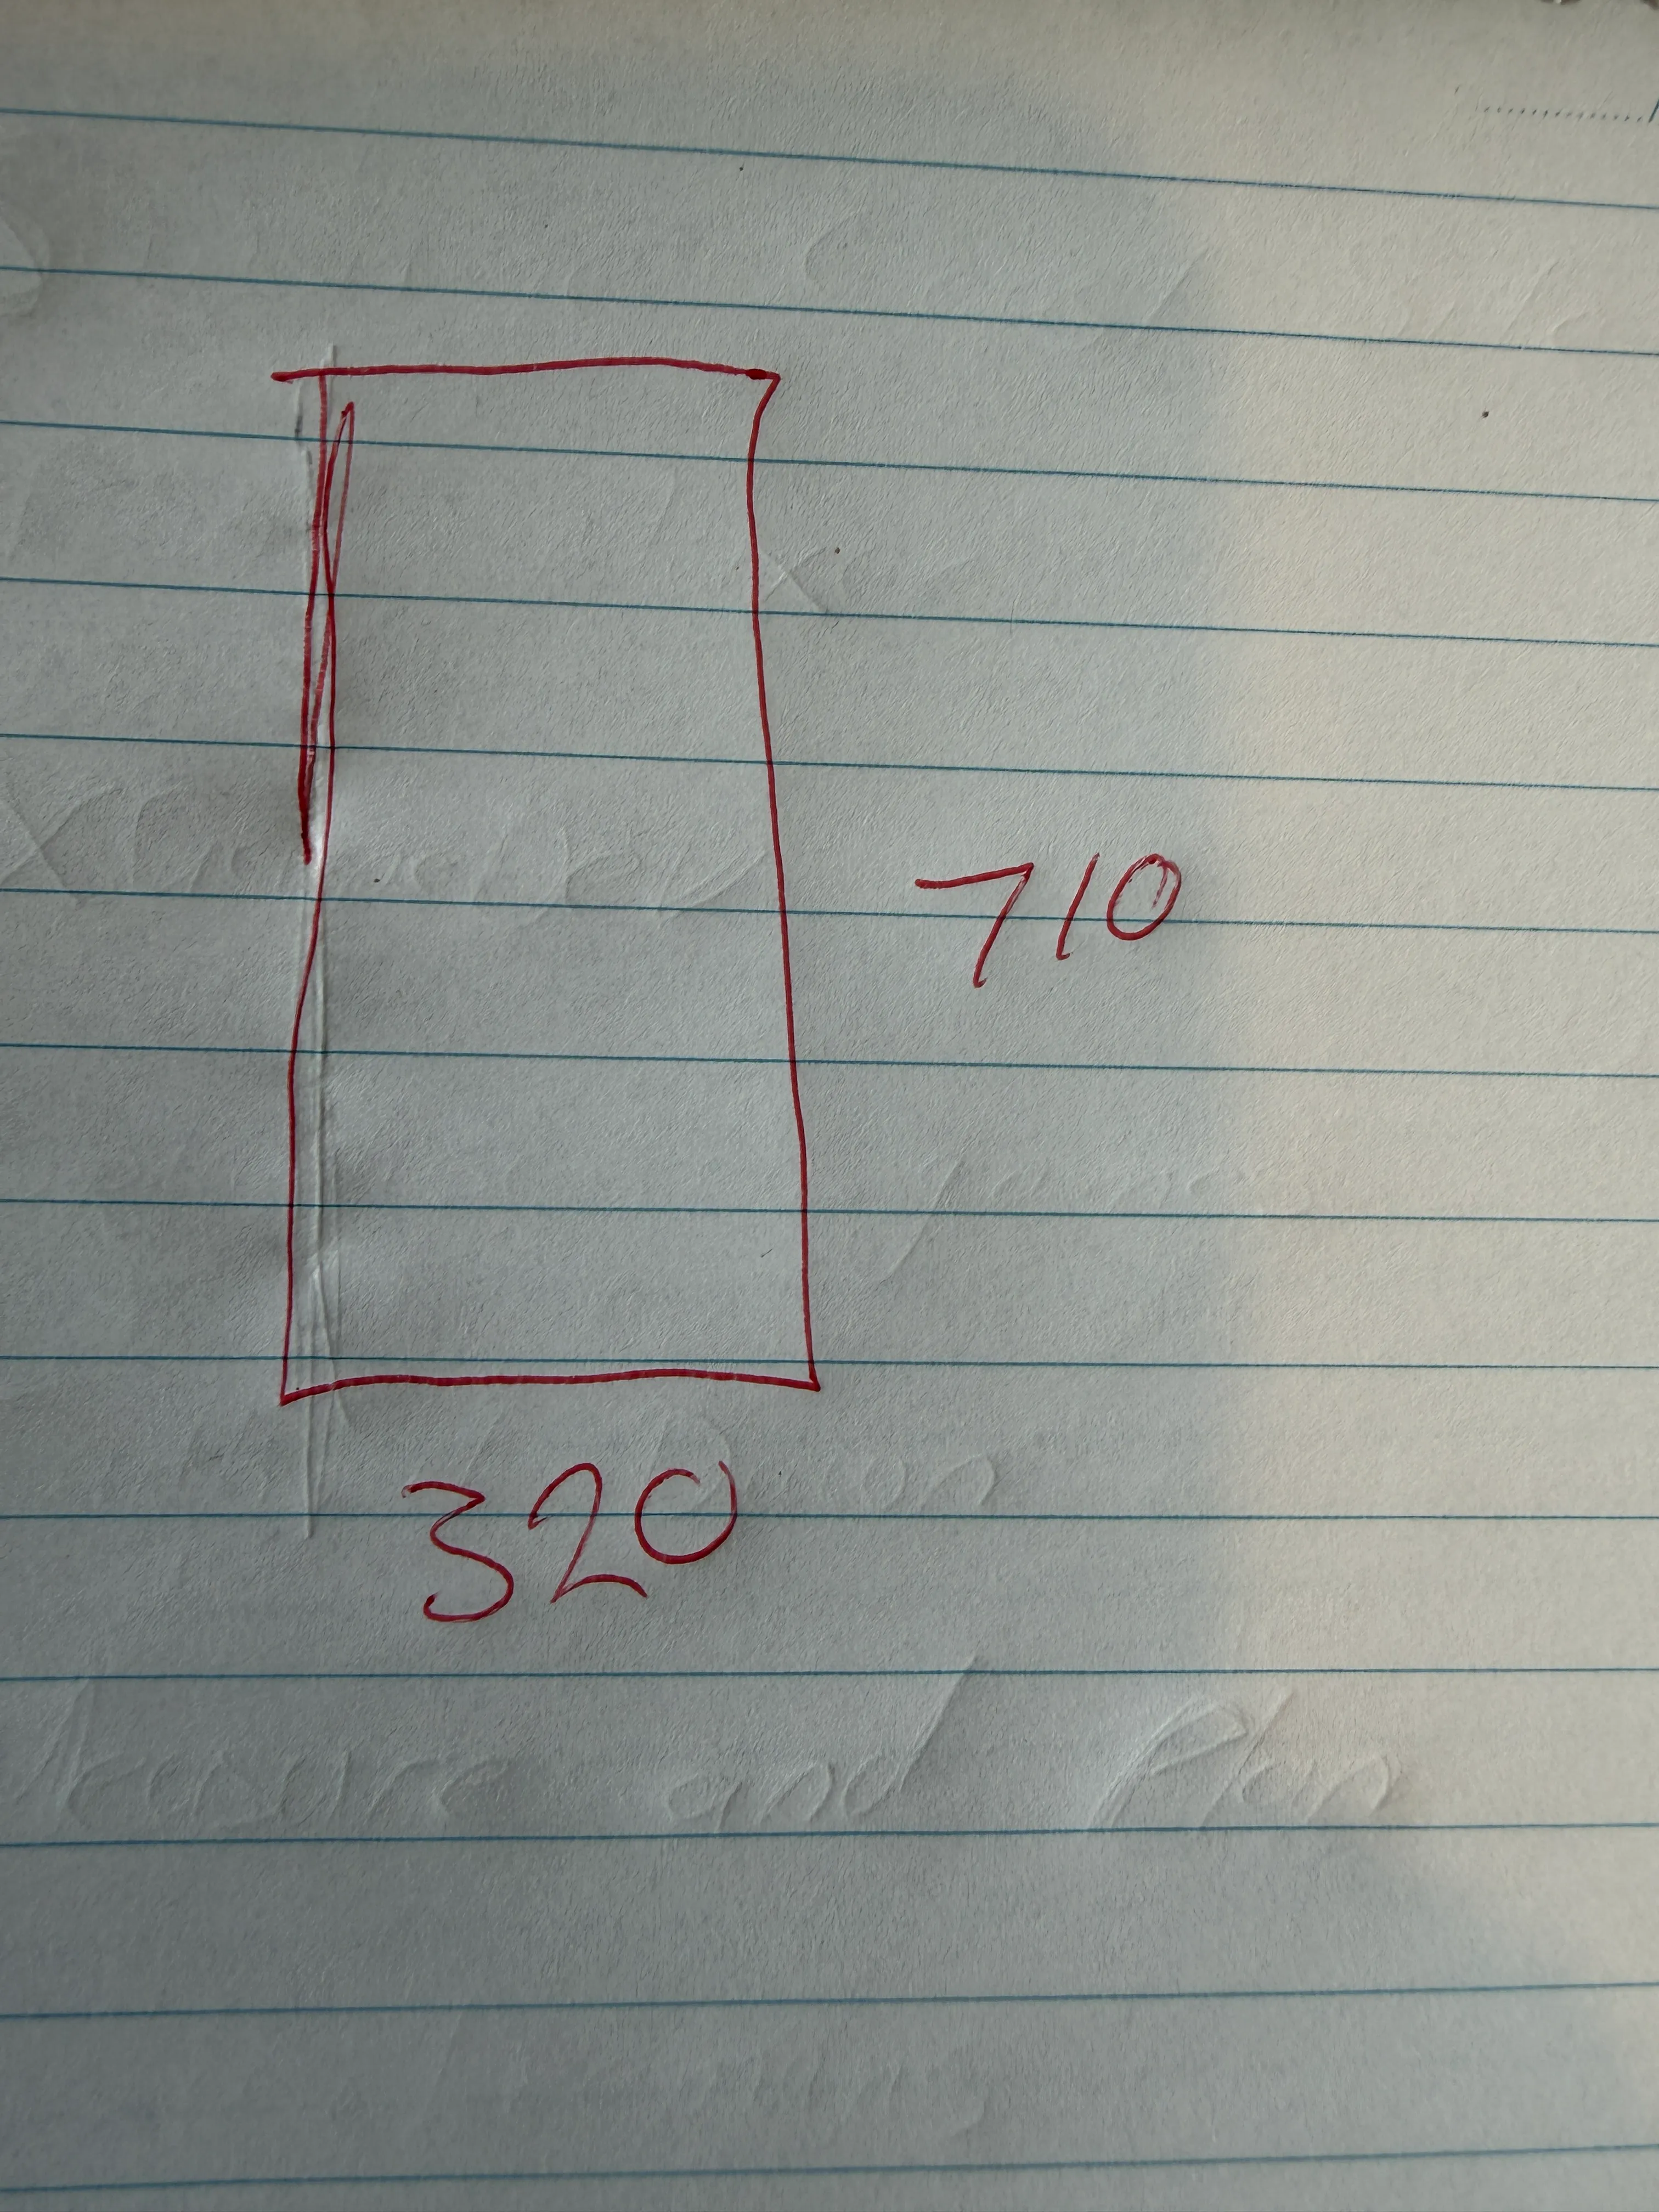
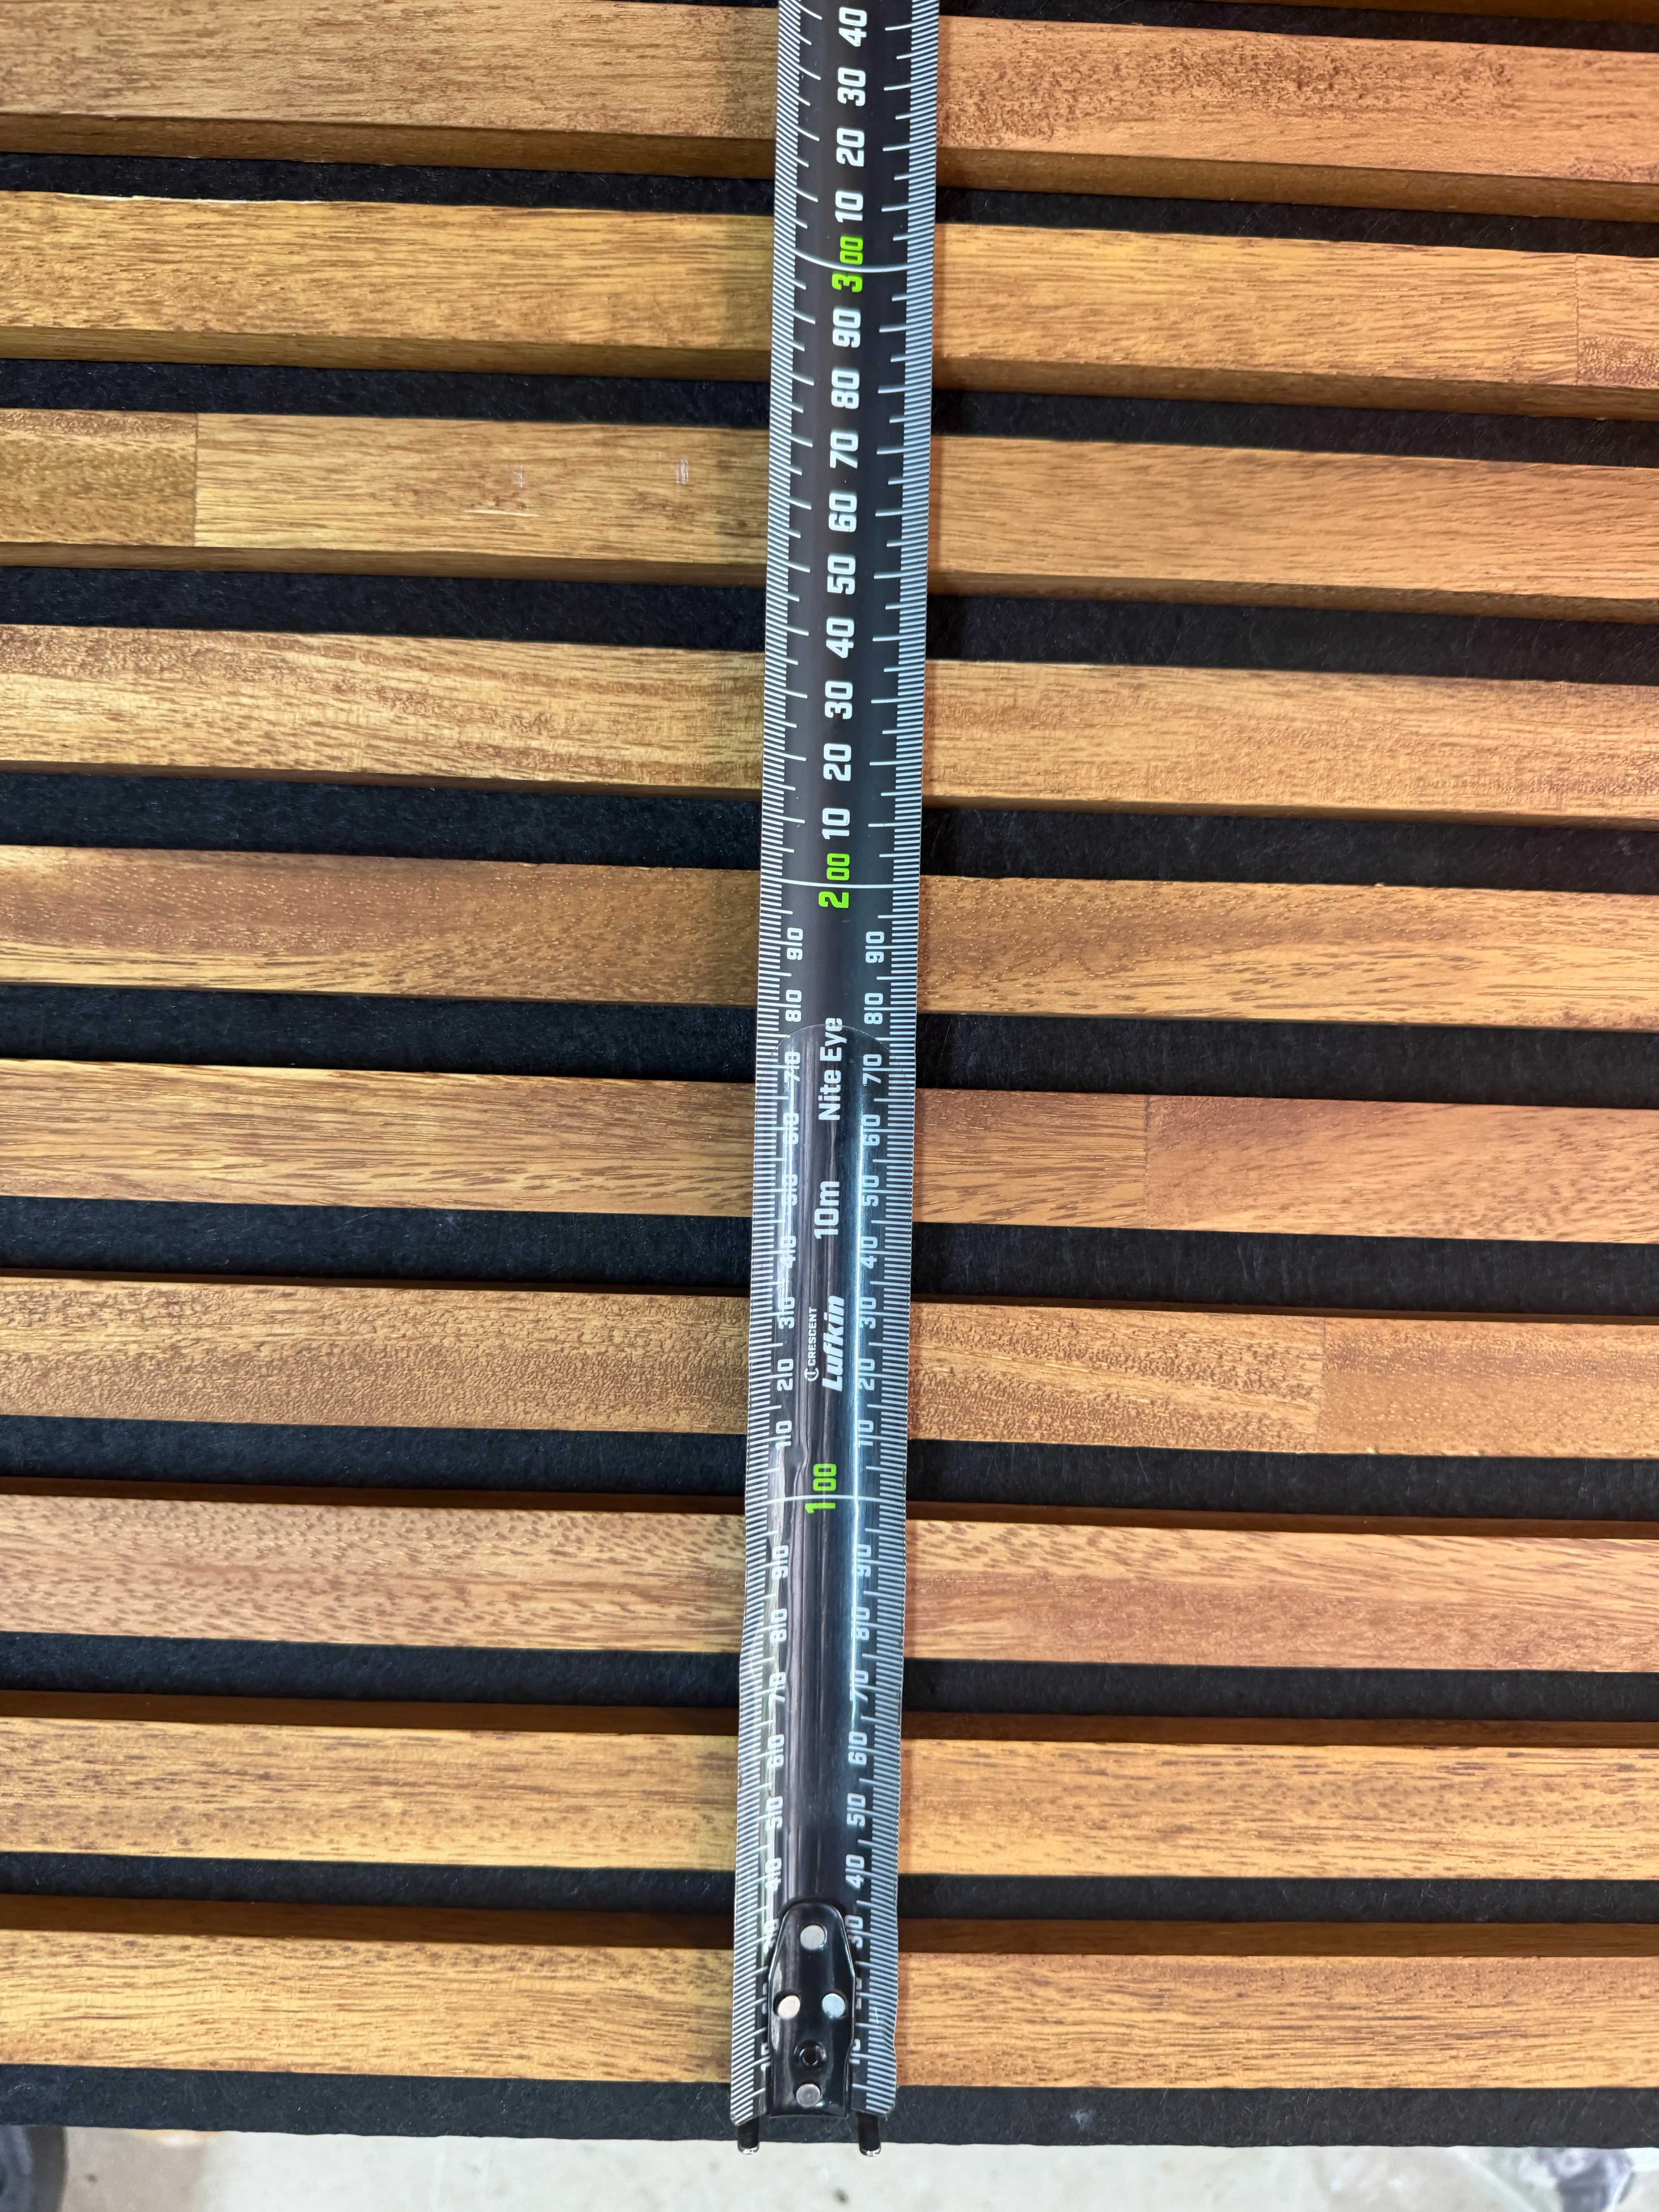
I had two choices for the vertical edges:
- Start with a timber slat at one edge and cut through another slat lengthways to reach the required width.
- Shift the layout so the edges fell in the black felt, keeping the timber slats at their full width.
I chose the second option. It left felt at the sides that I could trim during fitting, while the horizontal cut shortened the slats to the required height.
Check the slat width and the clear gap on your own panel instead of assuming a standard spacing. Measure across several slats to see where the finished edges will land, and look at both sides of the proposed piece before marking it. A narrow strip of timber at one edge can look quite different from a full slat at the other.
The full sheet was much larger than this recess. Before buying for a similar job, check that the required piece fits within the sheet with the slats running in the intended direction. Keep useful offcuts for another project; our guide to planning a shopping list explains how to keep materials and extras together.
Marking the cut and setting the saw guide
I transferred the measurements to the panel, then used a circular saw with a spirit level clamped in place as a straightedge. Two clamps held the guide while I checked its position.
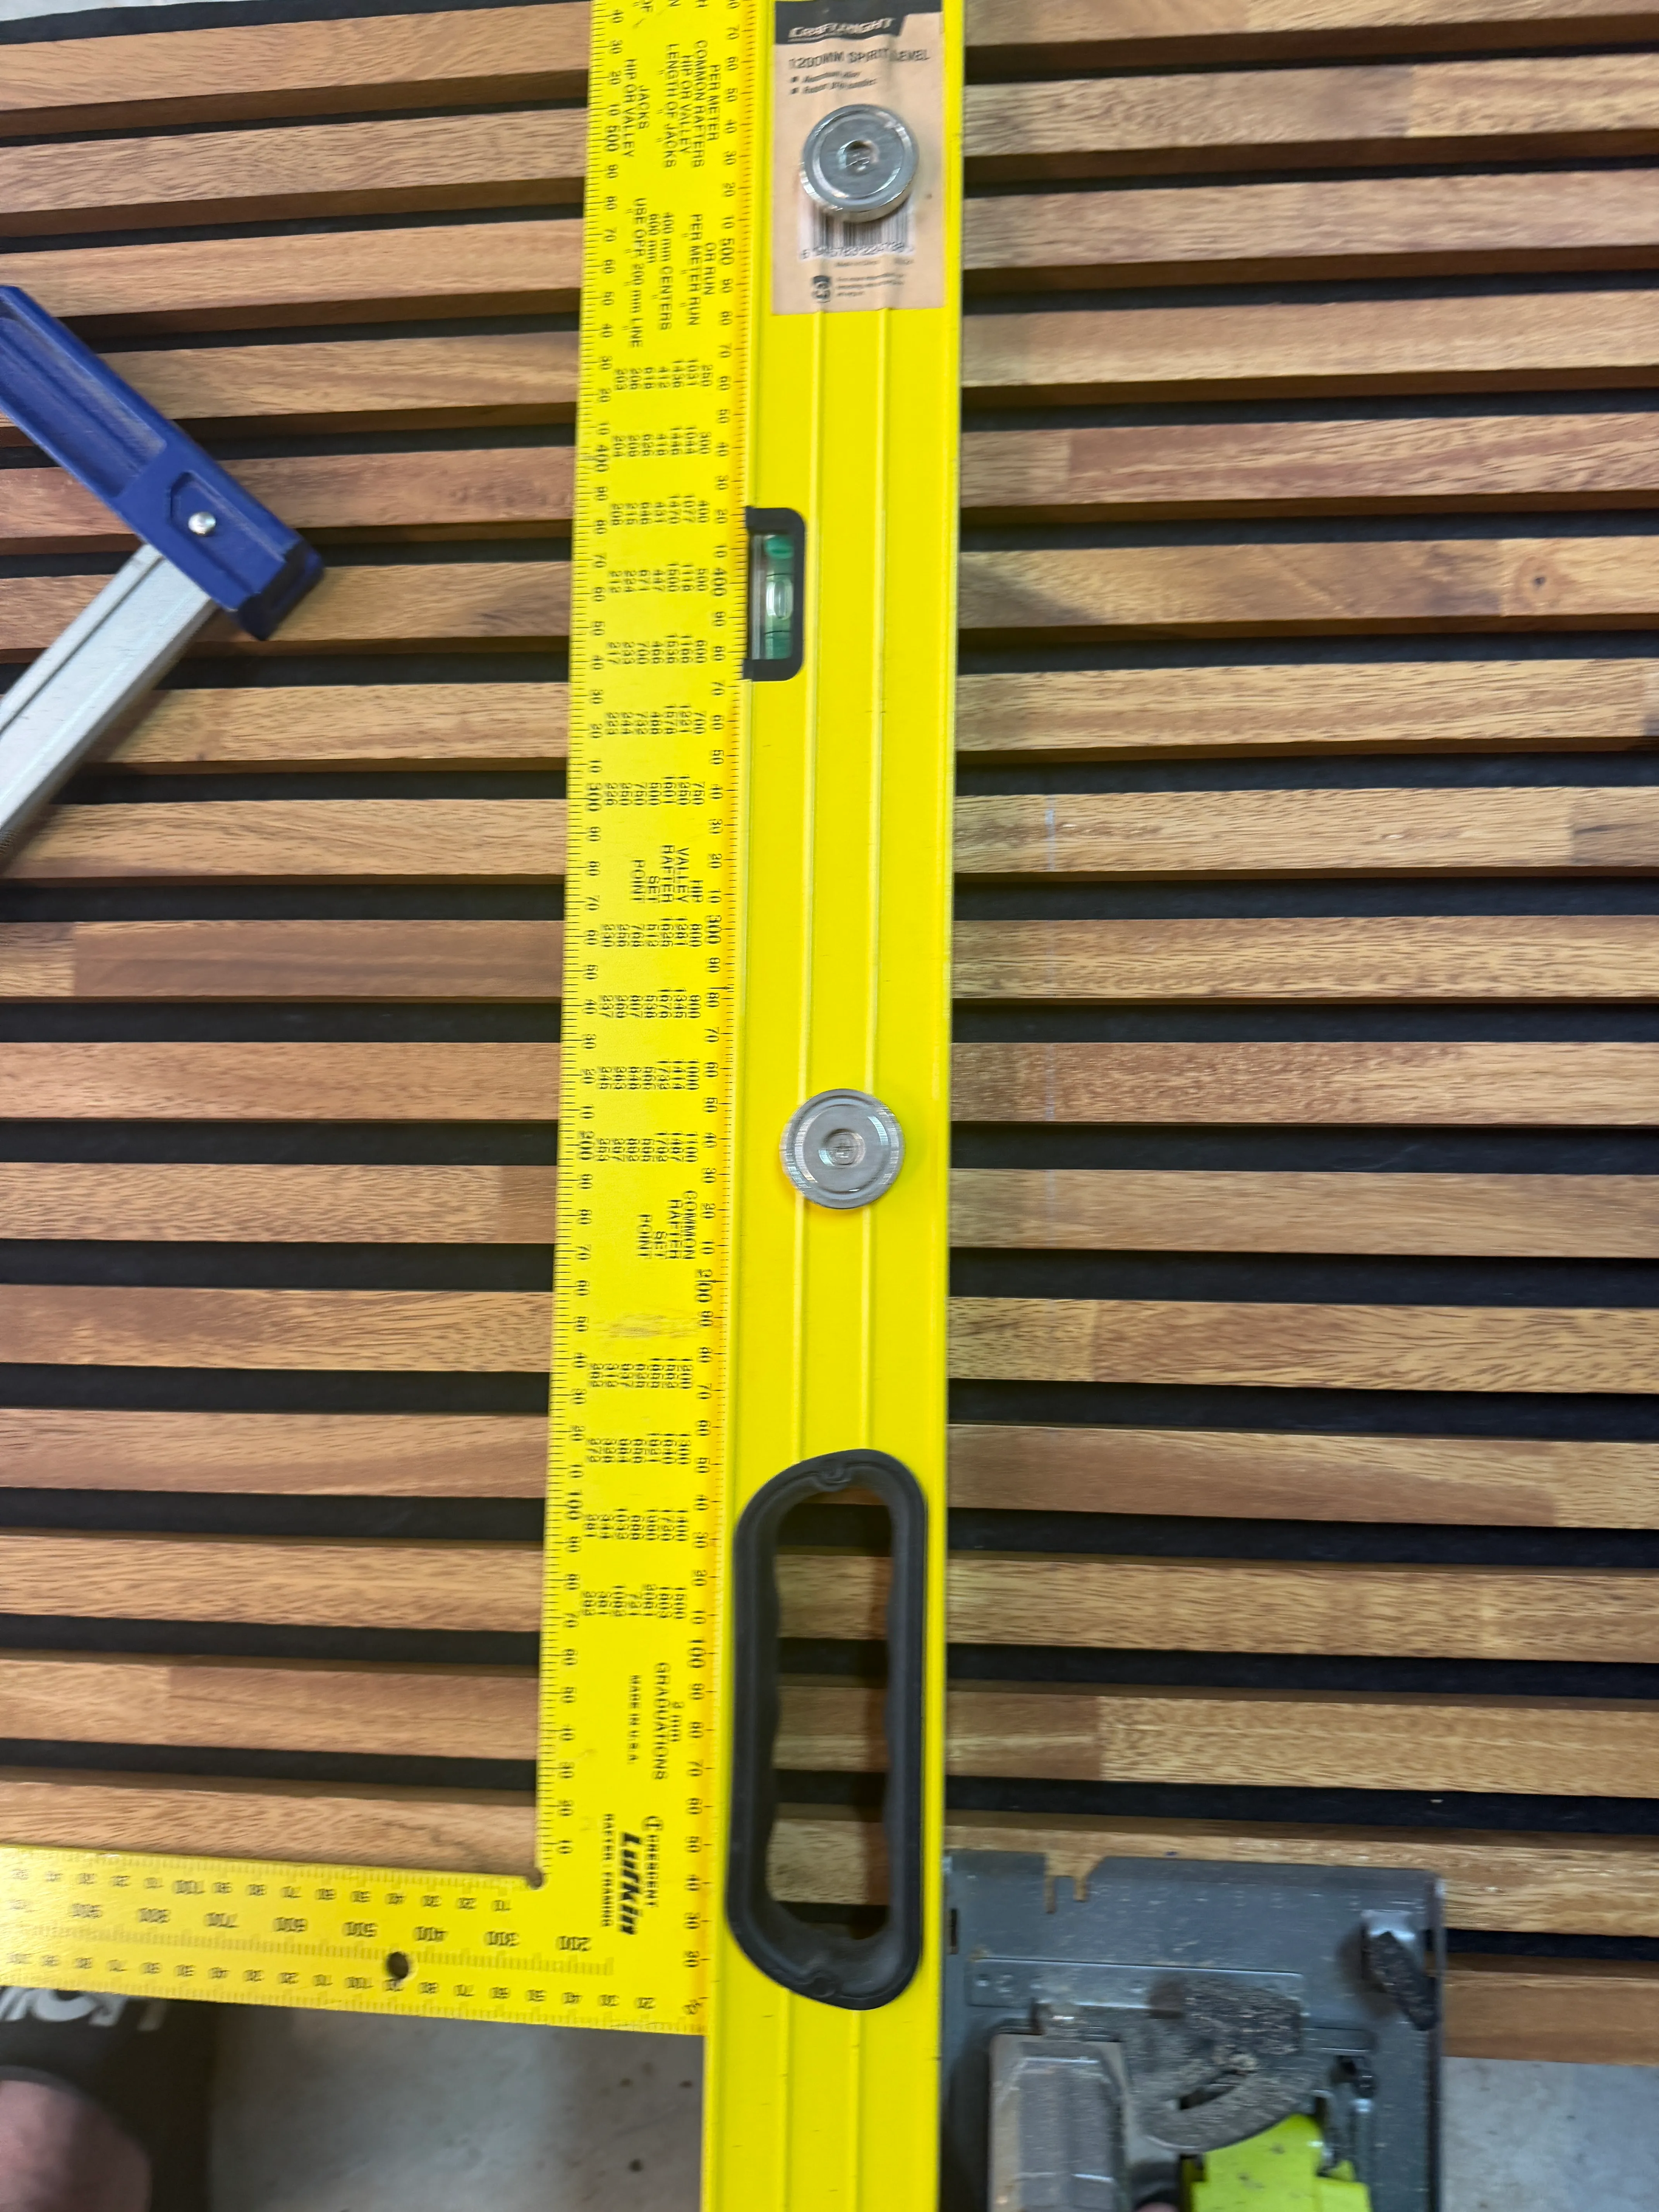
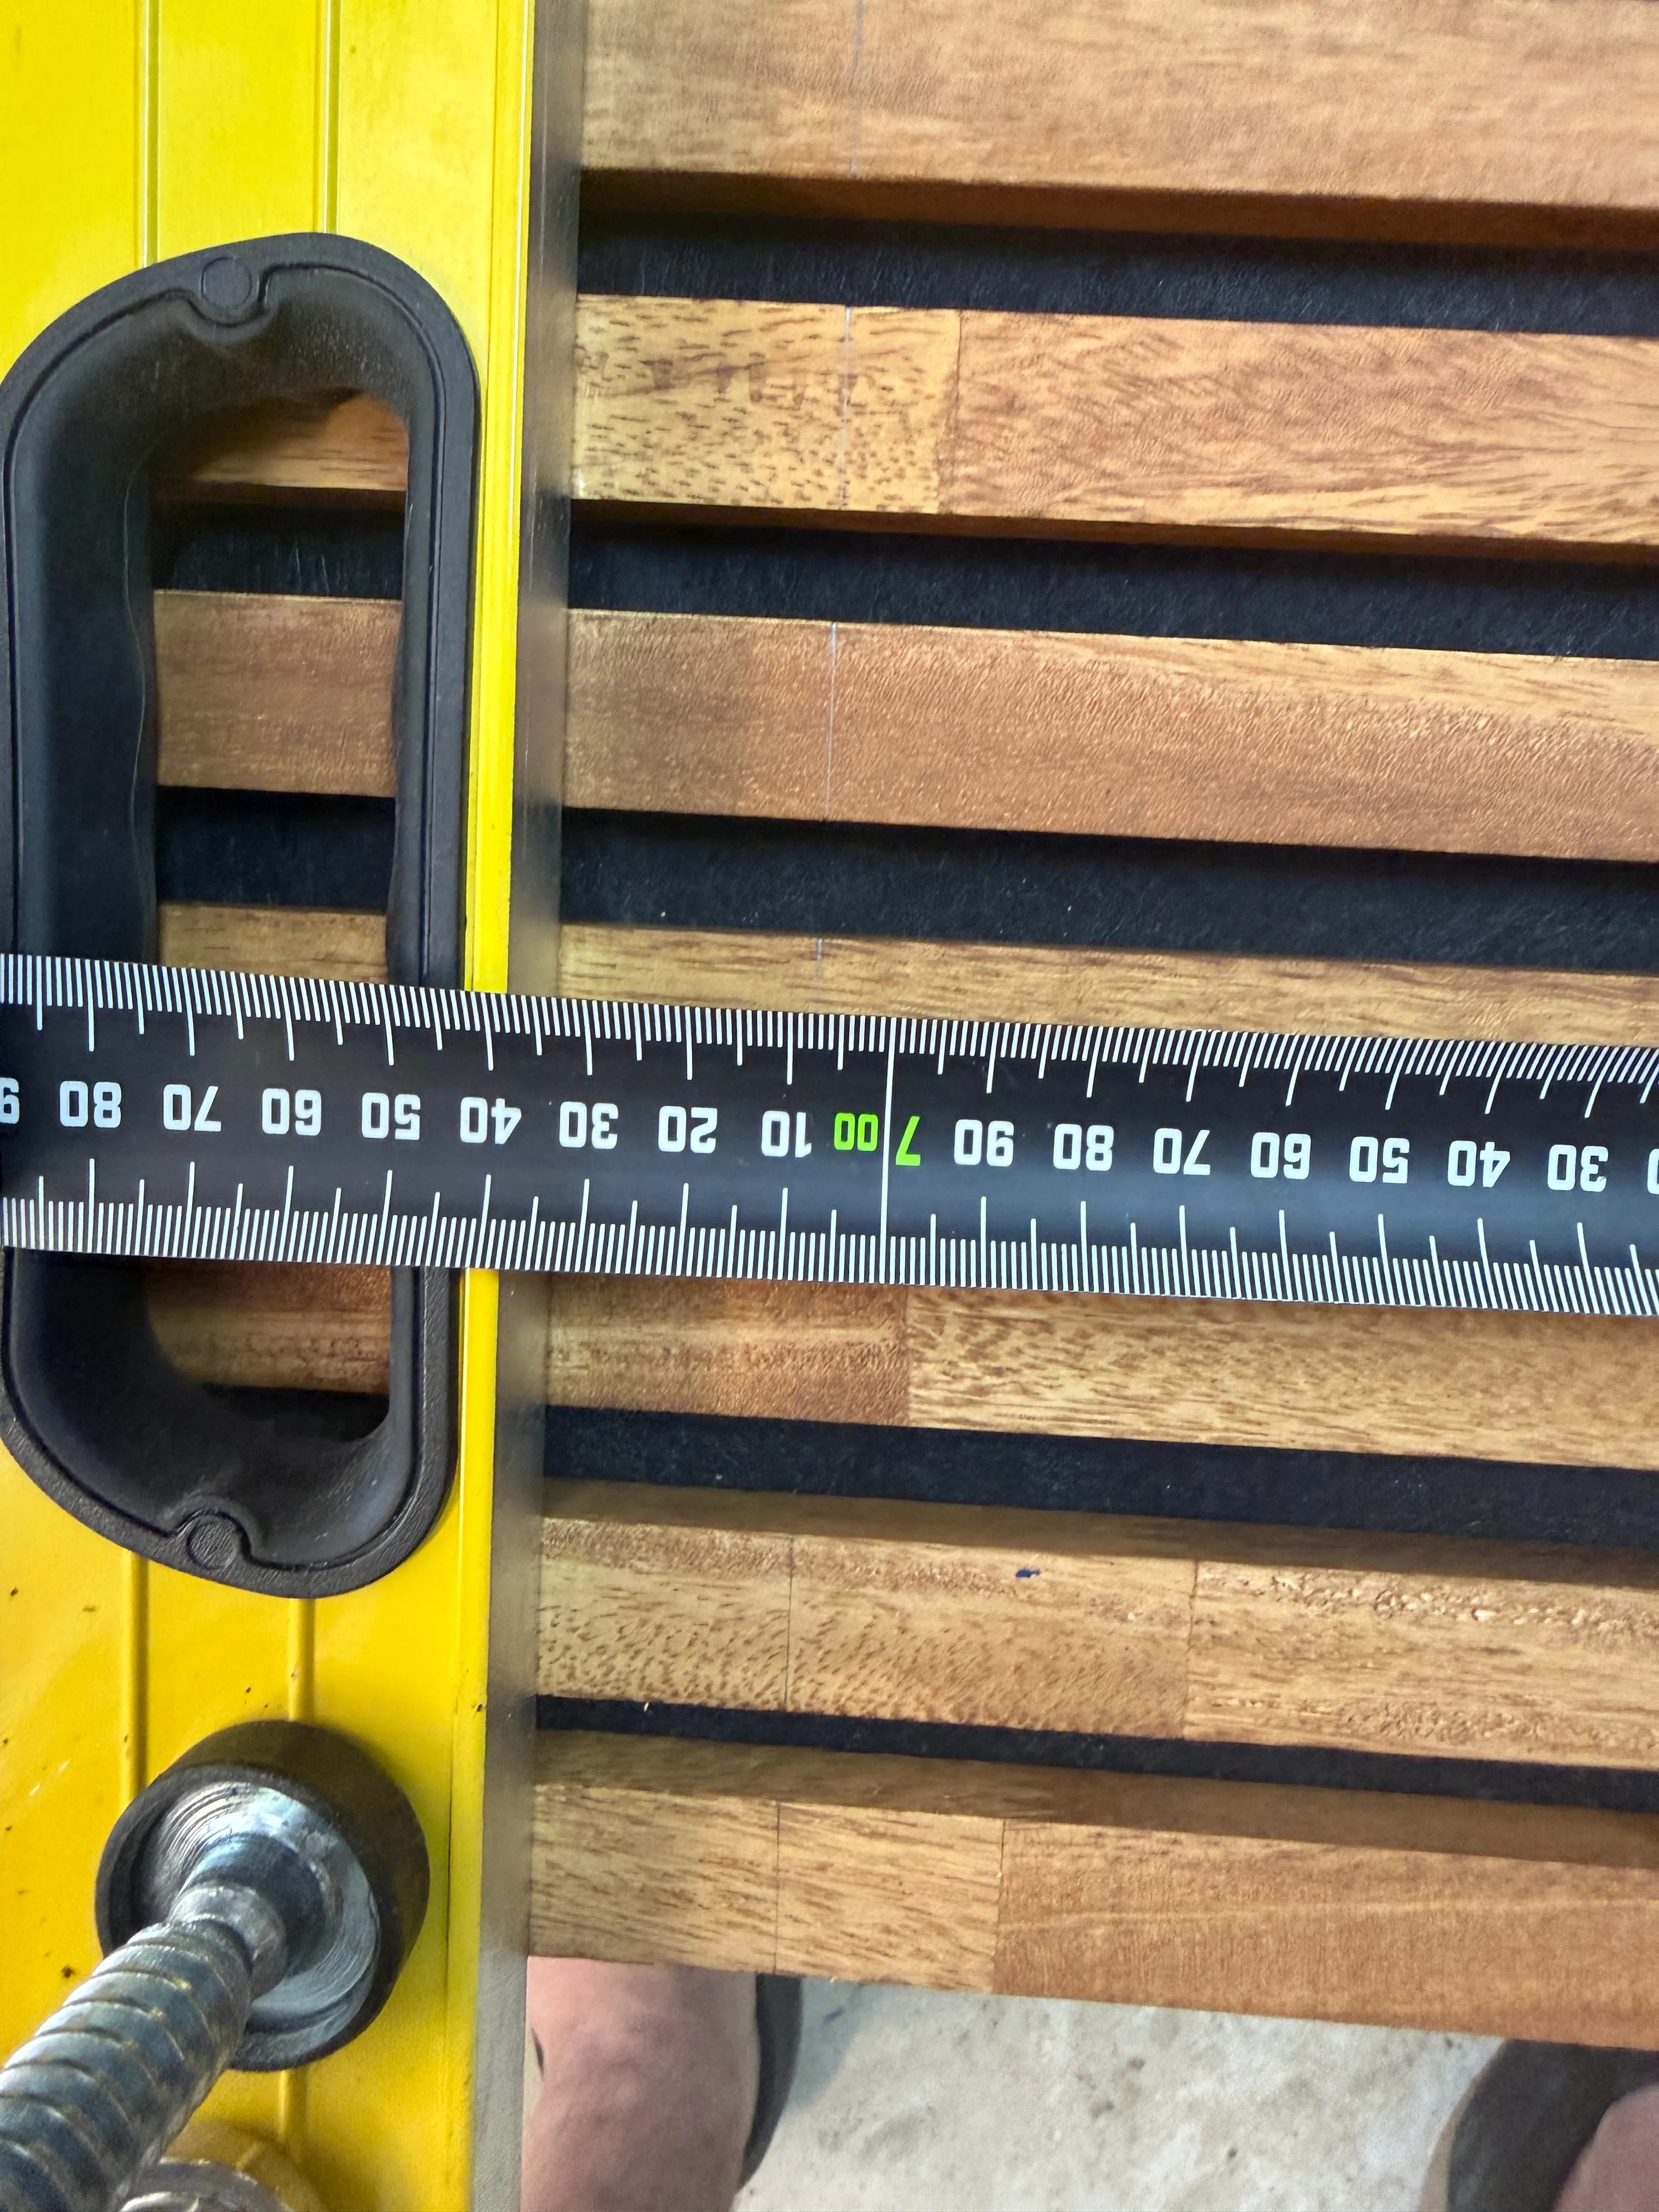
The edge of the saw’s base plate runs against the guide, so the guide itself doesn’t sit on the cut line. With the saw disconnected from power, check the distance between the blade and the edge of the base plate you will use. Set the guide that distance from the line, then check it at both ends. Keep the blade on the waste side so its cutting width, or kerf, doesn’t shorten the piece you want to keep.
The supplier’s guide recommends masking tape over the cut line and a fine-tooth saw to reduce chipping. Follow the cutting direction specified for your panel and check that the felt remains securely attached after cutting.
Support the panel and offcut so neither can drop or pinch the blade. Keep clamps clear of the saw’s path, and follow the saw manual for blade depth and handling. Wear eye and hearing protection, suitable dust protection and closed footwear when cutting.
Dry-fitting and gluing the panel
Before applying glue, I put the cut piece into the recess to check the fit. A few raised patches on the wall stopped it sitting evenly, so I sanded them down. I also trimmed a little felt from both sides to make the edges more even.
A dry fit gives you a chance to check the visible margins and make sure the panel clears the cupboard door and window trim. Remove loose material and sanding dust before fixing it; the wall needs to be sound and suitable for the adhesive.
I used glue to fix this small panel to the wall. For your own installation, choose an adhesive compatible with the panel backing and wall surface, and follow its application and curing instructions. The supplier’s installation guide recommends screws as well as adhesive, and requires both for ceilings and panels stacked vertically. Follow the fixing requirements for your panel and location.
The finished corner
The timber slats cover the unfinished patch between the cupboard and window, with the black felt visible between them. The photos below show the fit close up and how it looks alongside the rest of the kitchen.
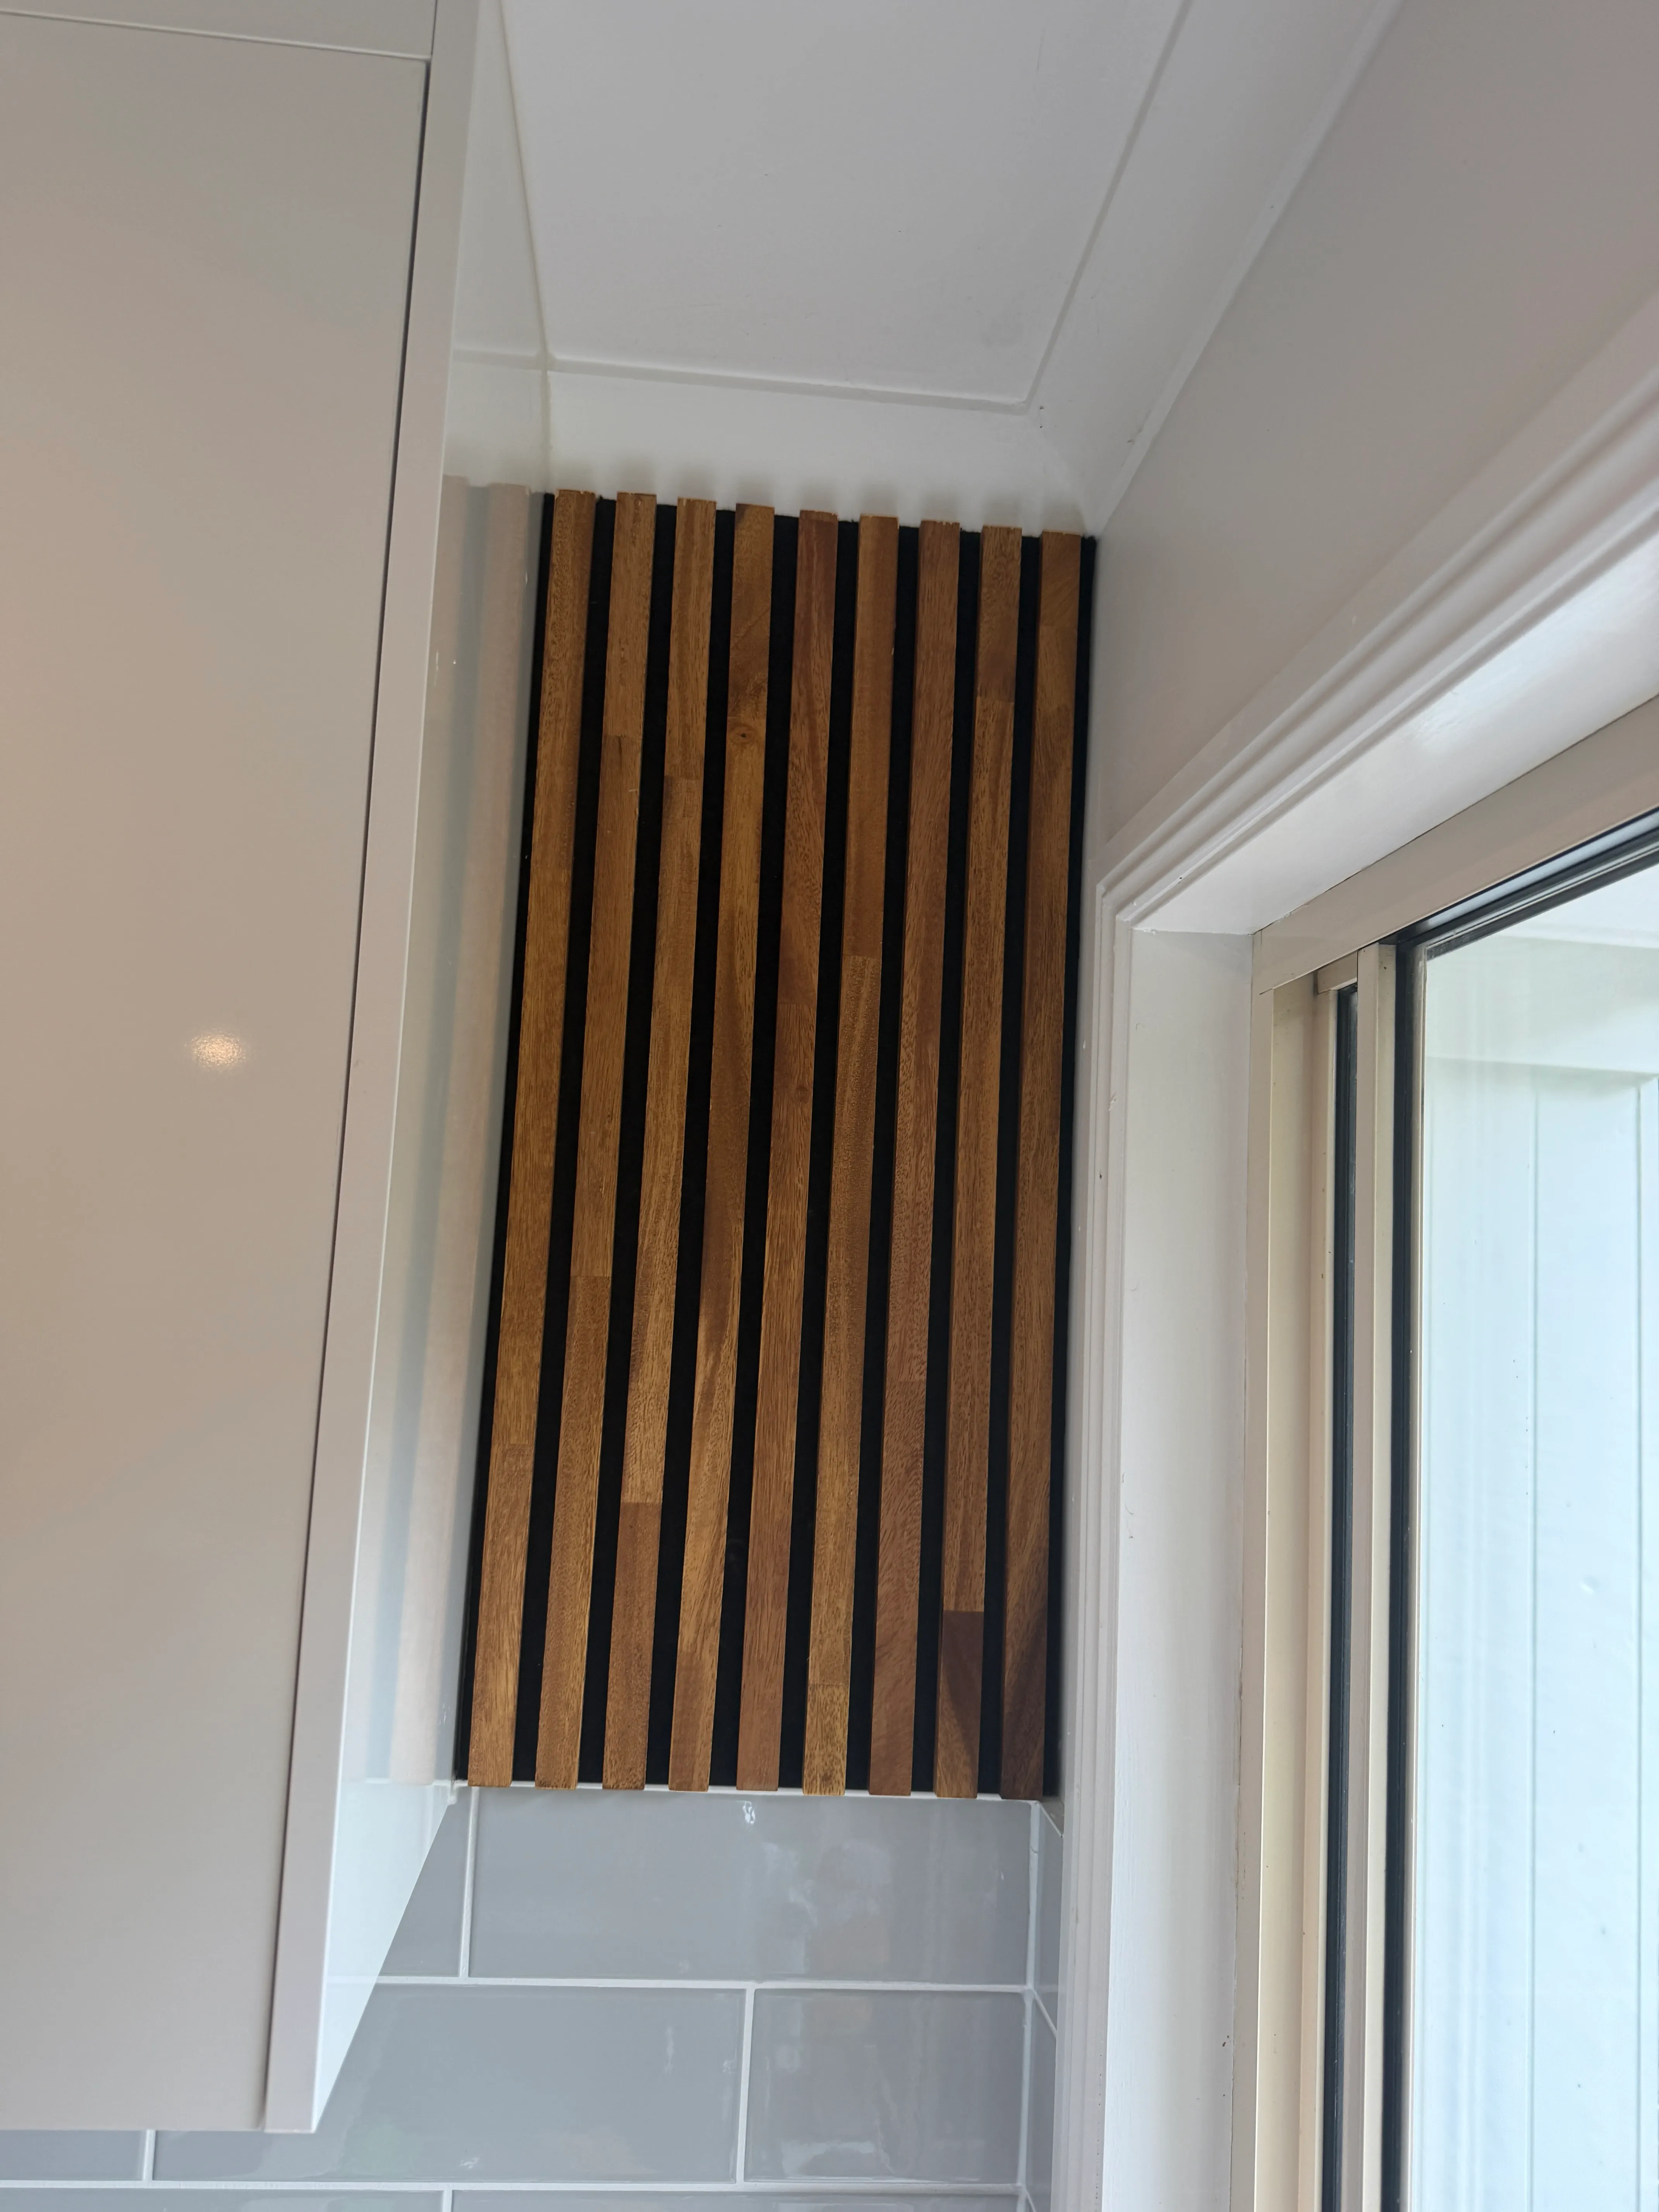
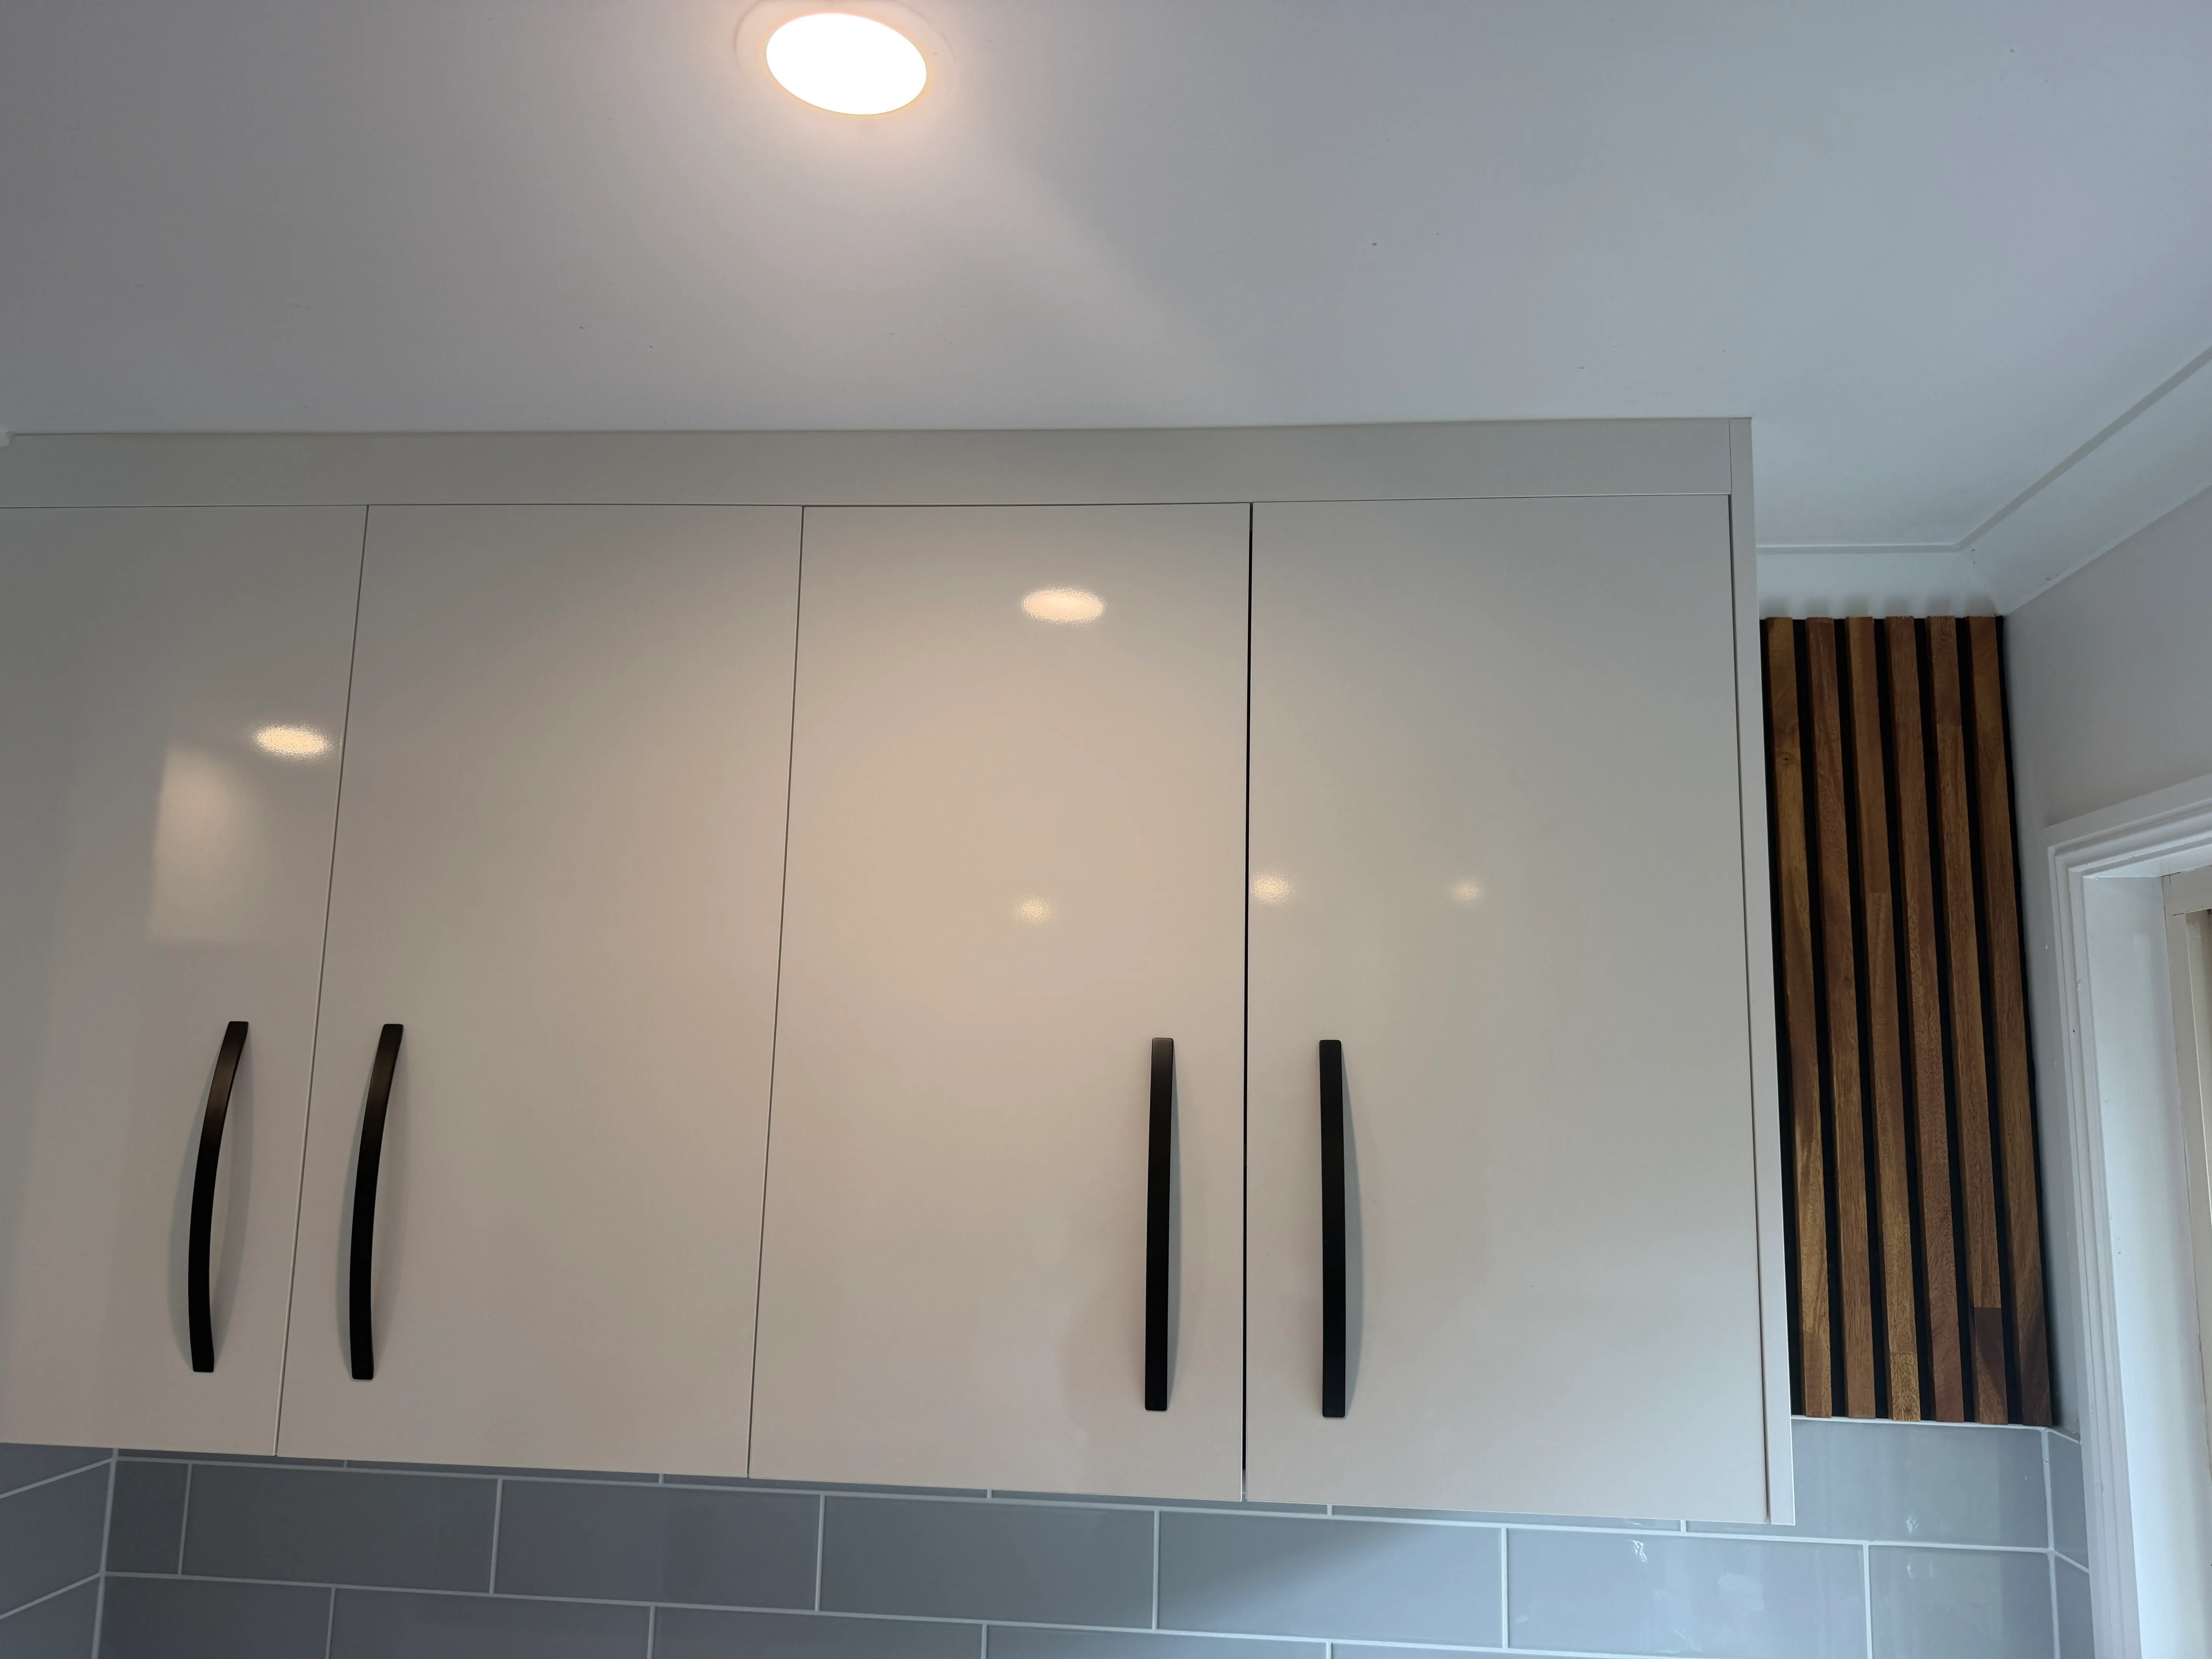
For a similar project, confirm the dimensions with a tape measure and plan the slat positions before cutting. That small layout decision can save a lengthways cut and leave more even edges.